
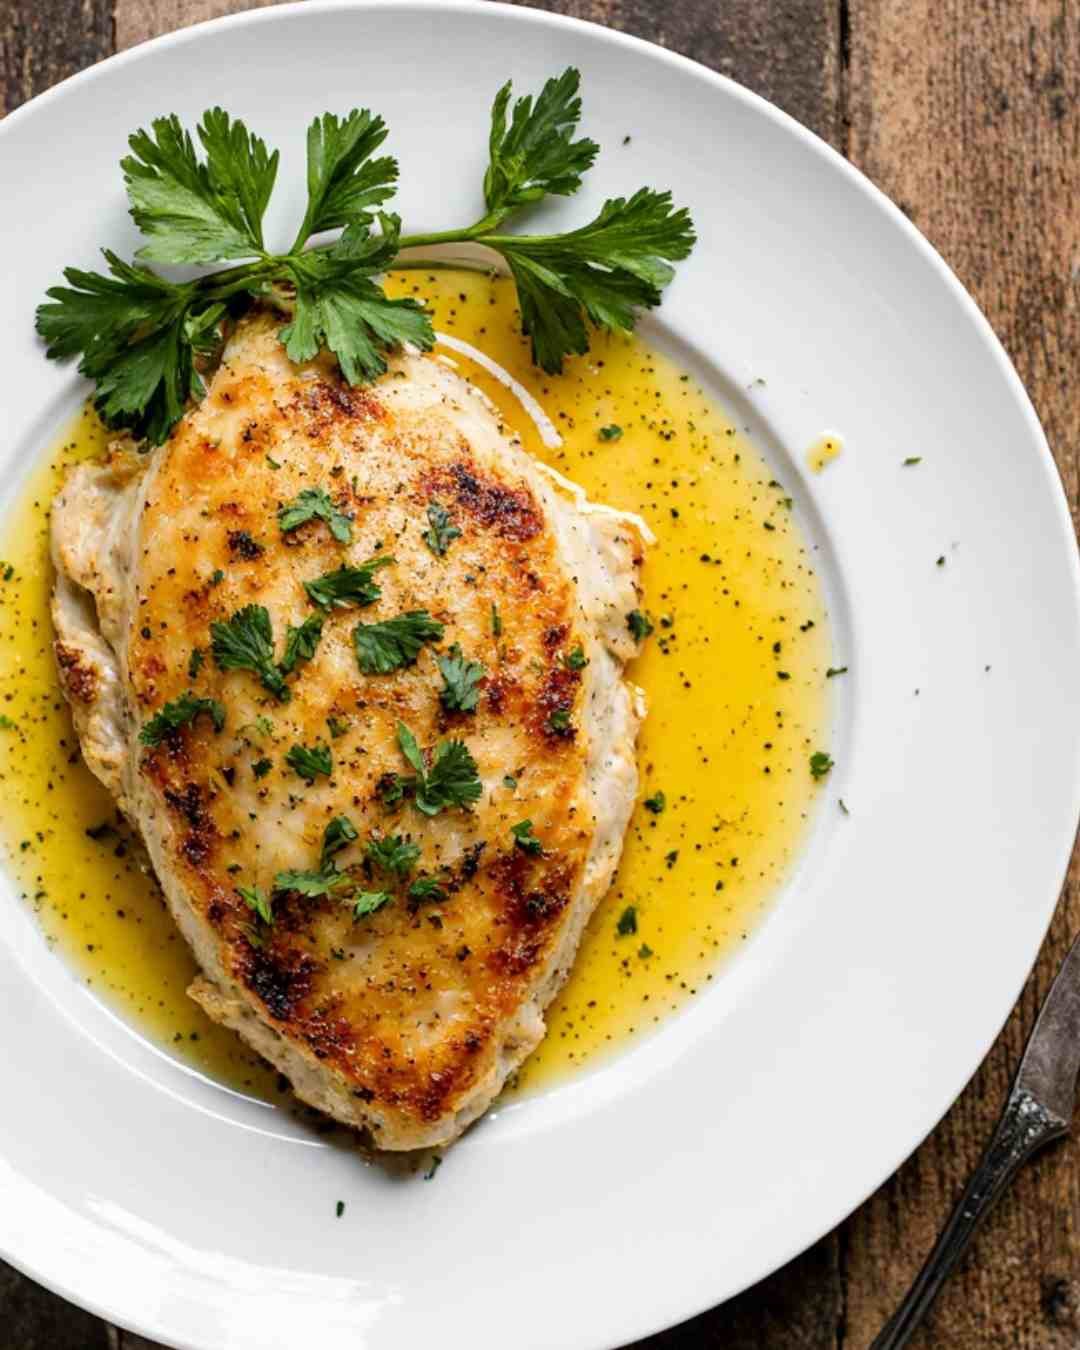
Garlic Butter Baked Chicken
Garlic Butter Baked Chicken Breast is the kind of recipe that makes you wonder why you ever settled for boring, dry chicken. Juicy, golden, and bursting with garlicky butter flavor, it’s the ultimate weeknight dinner that tastes like restaurant-quality comfort food—without the fuss.
Why This Garlic Butter Baked Chicken Breast Recipe is Awesome
- Garlic + butter = love story of the century. Rich, savory, and comforting all at once.
- Juicy every time. No more dry, sawdust chicken you need a gallon of water to choke down.
- Simple ingredients, big flavor. Stuff you probably already have in your pantry.
- Versatile superstar. Pair it with veggies, pasta, rice, or just eat it straight off the baking dish. No judgment.
- Smells like heaven. Your kitchen becomes an instant 5-star restaurant. Neighbors may show up “just to say hi.”
Key Ingredients (a.k.a. Flavor Dream Team)
- Chicken breasts (4, boneless & skinless): The blank canvas.
- Butter (½ cup, melted): Because we’re here for flavor, not diet trends.
- Garlic (4 cloves, minced): Double if you’re a garlic fanatic.
- Olive oil (2 tbsp): Helps that butter spread the love.
- Paprika (1 tsp): Adds smoky color—because beige chicken is sad.
- Italian seasoning (1 tsp): Lazy person’s magic mix.
- Salt & black pepper (to taste): Don’t skimp, flavor lives here.
- Fresh parsley (for garnish): Optional, but makes your plate Instagram-worthy.
Step-by-Step Instructions
- Preheat like a pro.
Set oven to 400°F (200°C). Cold ovens = chicken tragedy. - Pat your chicken dry.
Moisture on the outside means your butter sauce won’t stick. Use paper towels. - Mix your garlic butter potion.
Combine melted butter, olive oil, garlic, paprika, Italian seasoning, salt, and pepper. It smells so good you’ll want to drink it. Don’t. - Coat the chicken.
Place breasts in a baking dish and pour your sauce all over. Rub it in—show that chicken some love. - Bake.
Into the oven it goes for 20–25 minutes, depending on thickness. Internal temp = 165°F. Any higher, and you’ve crossed into flip-flop territory. - Rest.
Pull it out and let it sit for 5 minutes. It’s like letting a diva catch her breath before the encore. - Serve & shine.
Sprinkle parsley, squeeze lemon if you’re fancy, then bask in the glory of your creation.
Pro Tips (From My Kitchen Chaos)
- Season boldly. Chicken is basically tofu with muscles—give it flavor.
- Thickness check. If one breast is chunky and the other is thin, slice or pound them to even out. Nobody wants half-raw poultry.
- Rest = juicy. Cutting too soon is like popping open a soda and shaking it—you’ll regret it.
- Use foil wisely. Browning too fast? Tent loosely with foil and keep calm.
- Batch hack. Double the recipe, save leftovers for salads, wraps, or sandwiches. Future-you will say thank you.
How Long to Bake Chicken Breast?
- Standard size (about 6 oz each): 20 minutes.
- Thick (8–10 oz): 25 minutes.
- Thin sliced: 15–18 minutes.
Rule of thumb: always check with a meat thermometer. Aim for 165°F in the thickest part.
How Do You Keep Chicken Breast from Drying Out?
- The garlic butter cloak. Fat = flavor + moisture lock.
- Even thickness. Slice or pound chicken to uniform thickness.
- Rest it. (Yes, we keep harping on this because it matters!)
- Cook at the right temp. Don’t blast it at 500°F—it’s not pizza.
Common Mistakes to Avoid
- Skipping preheat. That’s like jumping in a cold pool. Regret guaranteed.
- Overcooking. You’re not making jerky. Respect the timer.
- Undersalting. Salt brings out flavor. Fear it not.
- Using margarine. Look, it’s garlic butter chicken, not garlic “kind of butter” chicken.
- Rest impatience. If you slice immediately, you’ll see your hard-won juices run for freedom. Rookie heartbreak.
Serve This Recipe With
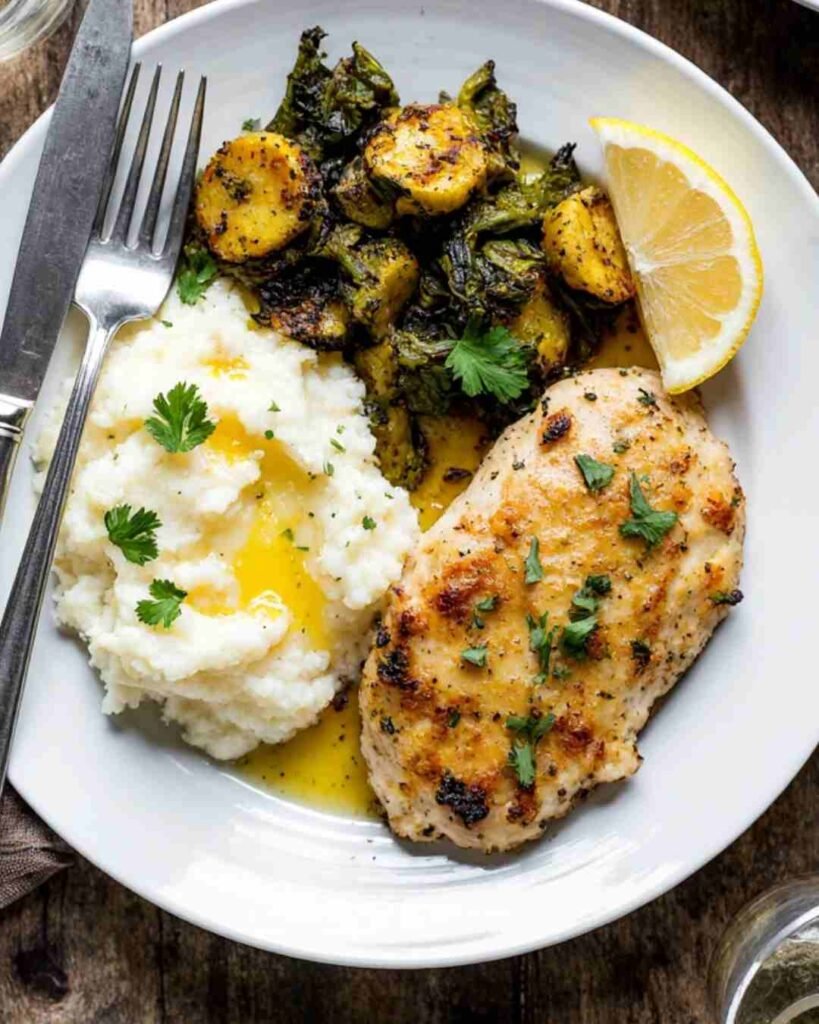
This dish is basically the social butterfly of proteins—it gets along with everyone.
- Mashed potatoes: Classic, creamy, heavenly.
- Roasted veggies: The “I’m being healthy” sidekick.
- Rice or quinoa: Perfect sauce-soakers.
- Garlic bread: For those who believe carbs are a love language.
- Pasta: Tossed in pesto or olive oil. Easy, filling, dreamy.
Alternatives & Substitutions
- Butter swap: Ghee or olive oil for dairy-free. But butter = Beyoncé, don’t kick her out unless you must.
- Garlic: Fresh is queen, but garlic powder works in a pinch. Double the amount for oomph.
- Seasoning remix: Cajun for spice, lemon pepper for zing, or curry powder for adventure.
- Protein change: Turkey cutlets or pork chops love this treatment too.
- Herbs: No parsley? Try cilantro, chives, or basil. Or nothing—still delicious.
FAQ (Frequently Asked Questions)
Q: Can I make this ahead of time?
A: Yep! Prep chicken with sauce, refrigerate 24 hours, then bake fresh.
Q: Can I freeze it?
A: Yes. Cook, cool, freeze up to 3 months. Defrost overnight before reheating.
Q: Reheat without drying it out?
A: Foil-wrapped in the oven at 300°F for 10–15 minutes. Microwaves work, but meh.
Q: Is this keto-friendly?
A: Oh yeah. Chicken + butter = keto gold. Just skip the bread sides.
Q: Can I grill it instead of baking?
A: Absolutely. Just reduce butter so it doesn’t drip flames. Grill to 165°F internal temp.
Q: Bone-in or thighs instead?
A: Works fine—just add extra cooking time. Thighs = juicier by default.
Final Thoughts
Garlic butter baked chicken breast is proof that simple doesn’t have to mean boring. With just a few pantry staples and a little oven magic, you get a dish that’s juicy, flavorful, and versatile enough for weeknights or dinner parties.
So, next time you’re tempted to order pizza because “ugh, cooking takes too long,” remember: you can have this chicken on the table in 30 minutes, with leftovers that taste even better the next day.
Go forth, slay that chicken, and wear your apron like a superhero cape. Your taste buds (and maybe your neighbors) will thank you
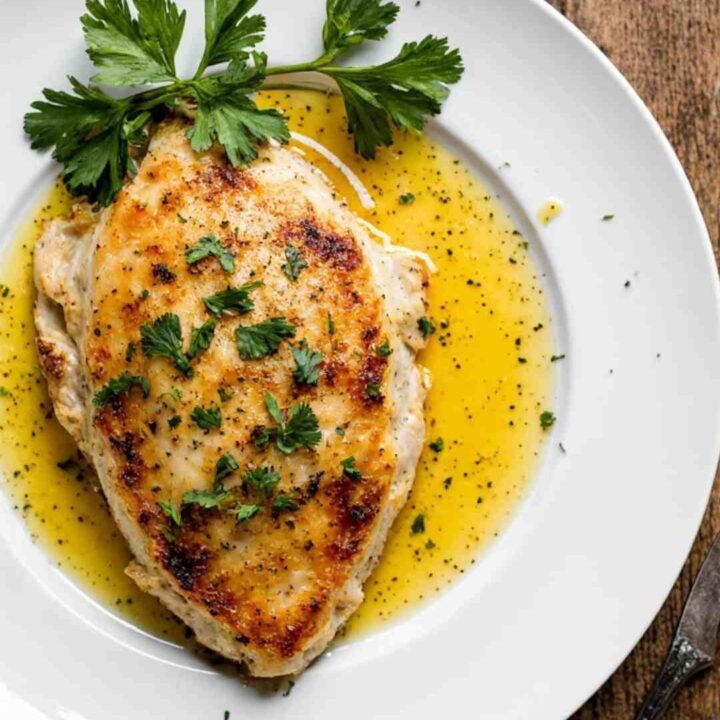
Garlic Butter Baked Chicken Breast
Ingredients
- 4 boneless, skinless chicken breasts (about 6 oz each)
- ½ cup unsalted butter, melted
- 2 tbsp olive oil
- 4 cloves garlic, minced
- 1 tsp paprika
- 1 tsp Italian seasoning
- Salt, to taste
- Black pepper, to taste
- Fresh parsley, chopped (for garnish)
- Optional: lemon wedges, for serving
Instructions
Notes
Nutrition Information:
Yield: 4Amount Per Serving: Calories: 390Total Fat: 28gSaturated Fat: 12gCarbohydrates: 1gFiber: 0gProtein: 32g