
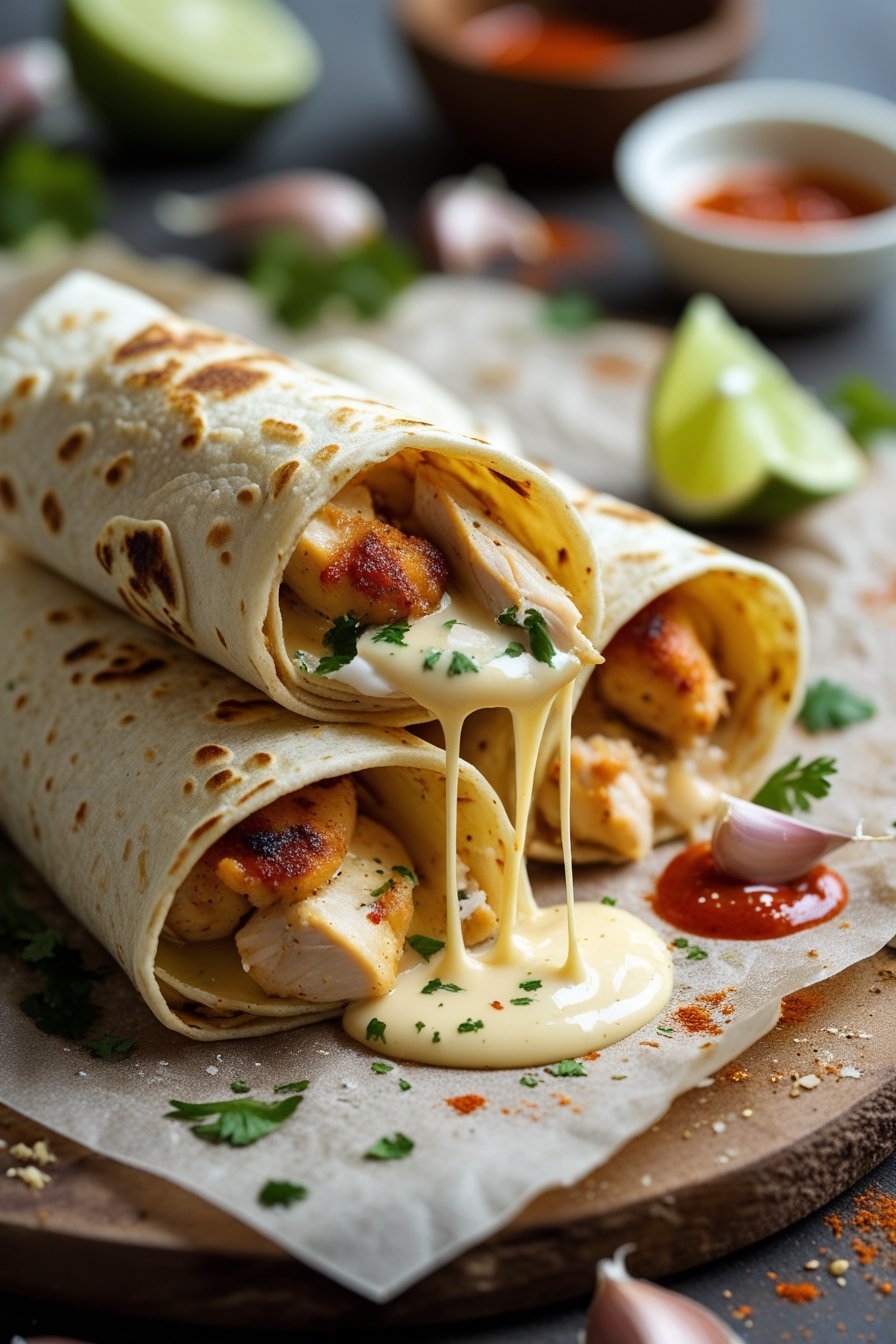
Cheesy Garlic Chicken Wraps Recipe
Need easy cheesy garlic chicken wraps? So, you’re staring into the fridge abyss, stomach rumbling like a disgruntled bear. This is your path to cheesy, garlicky, chicken-y glory with barely more effort than opening a pizza box. Let’s make these easy cheesy garlic chicken wraps – your edible flavor hug!
Why This Recipe is Awesome (Spoiler: It’s Stupidly Simple)
Look, I’m not here to sell you on sous-vide perfection or artisanal sourdough wraps (though, no shade if that’s your jam on a Tuesday). This recipe is awesome because:
- It’s Idiot-Proof: Seriously. If you can chop stuff, stir stuff, and operate an oven/stovetop without setting off smoke alarms (mostly), you’ve got this. I tested it while mildly distracted by cat videos, and I didn’t mess it up.
- Speed Demon: From fridge to face in under 30 minutes? That’s faster than most delivery drivers can find your apartment building. Perfect for weeknight heroics.
- Flavour Bomb: Garlic? Check. Cheese? Double-check. Juicy chicken? You bet. It hits all the good spots without needing a culinary degree.
- The Ultimate Clean-Out-The-Fridge Candidate: Got some wilting spinach? Half a bell pepper looking sad? Toss it in! This recipe is forgiving like your grandma when you accidentally broke her favourite vase.
Ingredients You’ll Need (Grocery List, Assemble!)
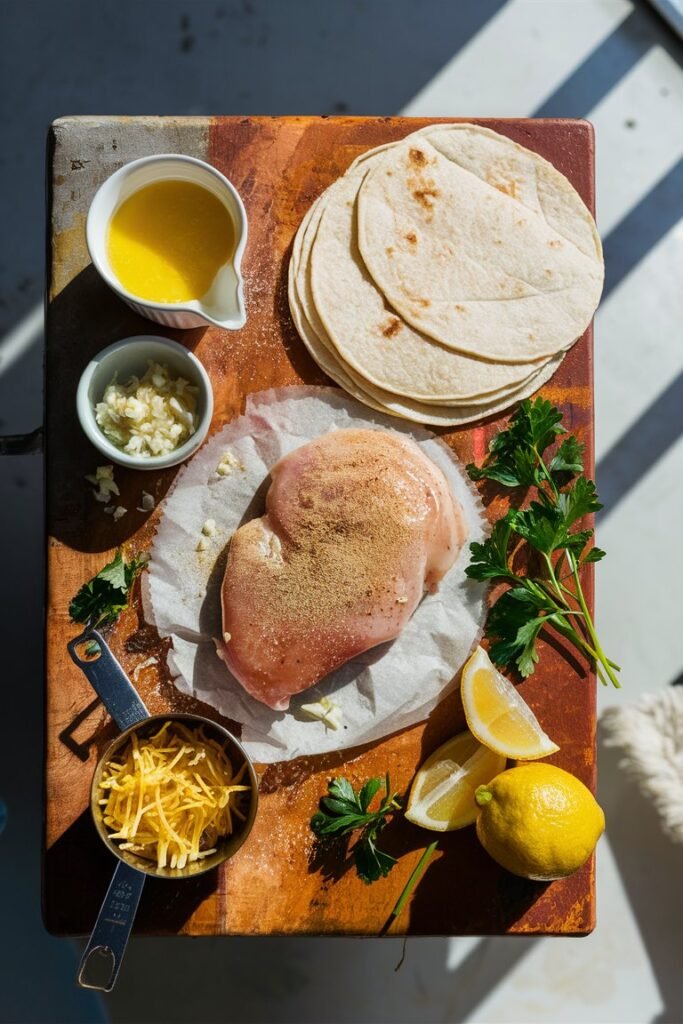
Gather these flavour soldiers. Quantities are flexible – I’m not the cooking police.
- Chicken Breasts (or Thighs): About 1 lb. Breasts are lean, thighs are juicier. You do you. Cut into bite-sized pieces – smaller pieces = faster cooking. This is key, lazy geniuses!
- Olive Oil (or whatever oil you have): A couple of glugs. For sautéing and not sticking. Essential unless you enjoy scraping pans.
- Garlic: 3-4 cloves, minced. Or be lazy like me and use the pre-minced stuff from a jar (about 1.5 tbsp). Garlic is the MVP here – don’t skimp!
- Cream Cheese: 4 oz (half a block). The glue that holds the cheesy dream together. Softened is ideal, but if you forgot, microwave it for 15-second bursts (watch it like a hawk!).
- Shredded Cheese: 1 cup. Mozzarella for melty goodness, cheddar for tang, Monterey Jack for kick… or a blend! The cheesier, the better, IMO.
- Flour Tortillas: 4 large burrito-sized ones. The vessel for your masterpiece. Whole wheat? Spinach? Plain? Doesn’t matter, they all work.
- Salt & Black Pepper: The dynamic duo of seasoning. Taste as you go!
- Optional Flavour Boosters (Choose your adventure!):
- Onion Powder/Granulated Garlic: A pinch or two for extra savoury depth.
- Italian Seasoning/Paprika: A sprinkle for herby or smoky vibes.
- Fresh Parsley/Cilantro: Chopped, for a pop of green at the end.
- Spinach: A handful, wilted in with the chicken.
- Salsa/Pico de Gallo: Spooned on top or inside for freshness.
Step-by-Step Instructions (Let’s Get Wrappin’)
- Prep Like a Pro (Minimal Pro-ing Required): Chop your chicken into small, bite-sized pieces. Mince your garlic if using fresh. Grate your cheese if it’s not pre-shredded (the ultimate lazy win). Soften that cream cheese if it’s fridge-cold brick. Preheat your oven to 375°F (190°C) if baking – don’t be that person who skips this!
- Chicken Sizzle Time: Heat a good glug of oil in a large skillet over medium-high heat. Add the chicken pieces. Season with salt, pepper, and any dry spices (onion powder, paprika, etc.) you’re using. Cook, stirring occasionally, for 5-7 minutes until cooked through and nicely browned. No pink chicken, please!
- Garlicky Goodness: Push the chicken to one side of the pan. Add a tiny bit more oil if it looks dry, then toss in the minced garlic. Cook for just 30 seconds to 1 minute – until fragrant, NOT burnt! Burnt garlic tastes like sadness. Stir it into the chicken.
- Cheese Glue Activation: Reduce the heat to low. Add the softened cream cheese to the skillet with the chicken and garlic. Stir like your life depends on it (it doesn’t, but stir well anyway) until the cream cheese melts and coats the chicken beautifully. Remove the skillet from the heat.
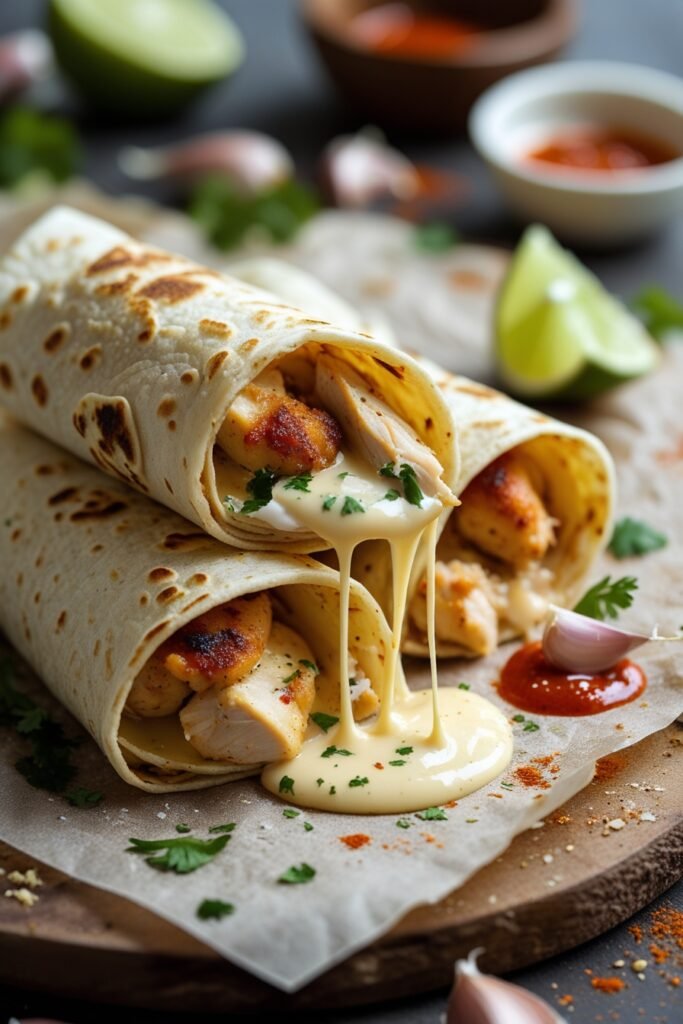
- The Big Cheese Dump: Stir in most of your shredded cheese (reserve about 1/4 cup for topping). Mix until it’s all melty and glorious. Taste! Need more salt? Pepper? Now’s the time. Stir in any fresh herbs or wilted spinach now too.
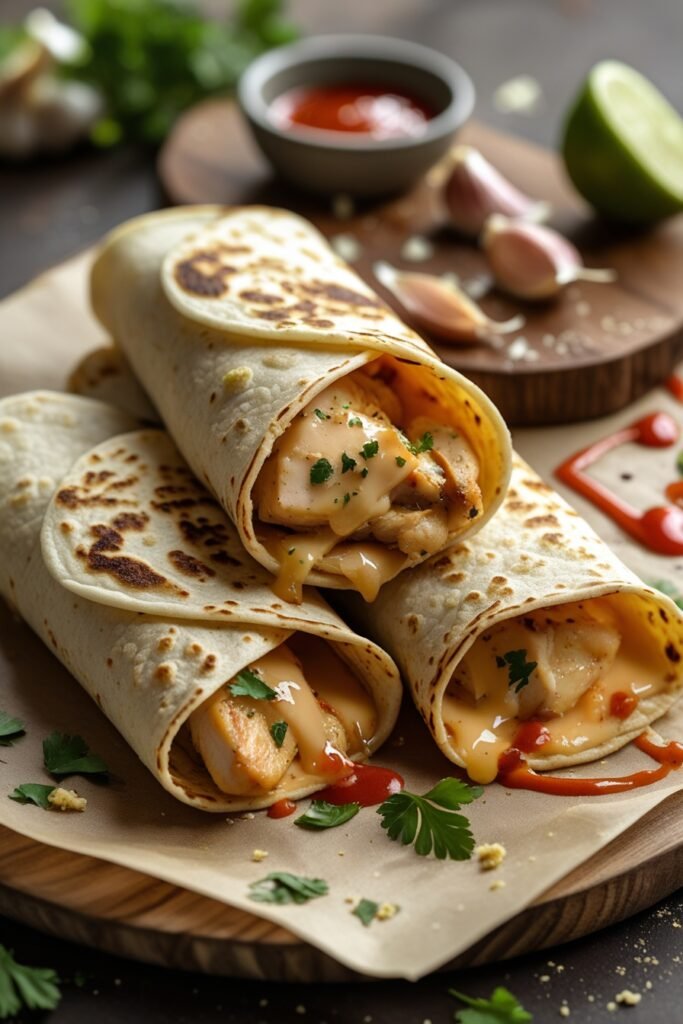
- Wrap Assembly Line: Lay a tortilla flat. Spoon a generous quarter of the cheesy chicken mixture down the center, leaving a border at the top and bottom. Don’t overfill, or it’ll be a wrap explosion (tasty, but messy).
- The Fold: Fold the bottom edge up over the filling. Fold the sides in towards the center. Roll tightly upwards from the bottom, burrito-style. Repeat with the remaining tortillas and filling.
- Seal the Deal (Optional but Recommended): Place the wraps seam-side down on a baking sheet. Sprinkle the reserved shredded cheese over the tops. Pop them in the preheated oven for 5-10 minutes, just until the cheese on top melts and the wraps get slightly crispy. OR, if you’re truly committed to the lazy path, skip the oven and just microwave each wrap for 30-45 seconds to melt the top cheese. No judgement here!
- The Grand Finale: Let them cool for a minute (melty cheese lava burns are no joke). Slice in half diagonally if you’re feeling fancy, or just dive in face-first. Top with salsa, pico, extra herbs, or a dollop of sour cream if desired.
Common Mistakes to Avoid (Learn From My Near-Disasters)
- Chunkzilla Chicken: Cutting the chicken too big. Small pieces cook faster and fit better in the wrap. Bite-sized is key!
- Garlic Inferno: Adding garlic with the raw chicken or cooking it on high heat for too long. Burnt garlic ruins everything. Add it late, cook it low and fast.
- The Overstuff Avalanche: Piling filling mountain-high. It looks generous, but you will wear half of it. Show restraint (or just accept the mess).
- Skipping the Preheat (Oven Rebels, I See You): Your wraps won’t get that nice melt/crisp, and cooking time becomes a mystery. Just turn it on when you start!
- Cold Cream Cheese Standoff: Trying to stir fridge-cold cream cheese into hot chicken = lumpy mess. Soften it first! Microwave is your friend (short bursts!).
- Underseasoned Sadness: Chicken needs salt! Taste your filling before wrapping. Season in layers!
Alternatives & Substitutions (Make It Yours!)
- Chicken: Leftover rotisserie chicken? Shred it! Skip the cooking step entirely – just warm it with the garlic, then add cheeses. Ground chicken or turkey works too (cook it through first).
- Dairy-Free? Use vegan cream cheese and shredded cheese. Check the meltability first! Nutritional yeast can add a cheesy flavour boost.
- Tortillas: Use large lettuce leaves (romaine or butter lettuce) for low-carb “wraps.” Collard greens work too (briefly blanch the leaves first to soften). Pita pockets? Sure, why not!
- Cheese Swap: Feta for tang, pepper jack for heat, smoked gouda for depth. Go wild (within reason).
- Veggie Power: Saute some diced bell peppers, onions, or mushrooms before the chicken, then proceed. Corn, black beans – toss ’em in at the end.
- Cream Cheese: Ran out? A couple of tablespoons of sour cream or Greek yogurt can add creaminess, but it won’t be as thick and gluey (in a good way). Alfredo sauce? Maybe… getting adventurous!
FAQ (Frequently Asked “But What If…?”)
- Can I make these ahead of time? You can make the filling ahead (store covered in the fridge for 2-3 days). Assemble the wraps just before heating/eating, or they might get soggy.
- Can I freeze them? The cooked filling freezes well! Thaw in the fridge, reheat gently, then assemble wraps. Assembled wraps can freeze (wrap tightly in foil), but the tortilla texture suffers a bit. Bake from frozen (add extra time).
- My tortilla ripped! Help! Overfilling is usually the culprit. Use less filling next time, or double-wrap it (use two tortillas slightly overlapping). Pro Tip: Warm tortillas briefly in a dry skillet or microwave (damp paper towel) for 10 secs – they become more pliable!
- Can I use margarine instead of oil? Technically yes, but… why? Oil has a higher smoke point and neutral flavour. Butter works for flavour, but watch it doesn’t burn with the garlic. Stick with oil for simplicity.
- It’s not cheesy enough! What gives? Did you use enough cheese? Did you use a cheese that melts well? Mozzarella and cheddar blends are reliable melters. Pre-shredded cheese often has anti-caking agents that can make it less melty – grating your own helps!
- Can I air fry these? Absolutely! Spray the wraps lightly with oil, place seam-side down in the basket (don’t overcrowd). Air fry at 375°F (190°C) for 5-8 mins until crispy and heated through. Watch them closely!
- What do I serve with them? Keep it simple! A side salad, some tortilla chips and salsa, carrot sticks, or just eat them gloriously on their own. No extra dishes? Winning.
See? Told you it wasn’t rocket science. You just whipped up cheesy, garlicky chicken wraps that taste like way more effort than they actually were. That’s the kind of kitchen magic I can get behind. Whether you’re feeding hangry teenagers, impressing a date (or just yourself on the couch), these wraps are your golden ticket. They’re forgiving, flexible, and fundamentally delicious. So go forth, wrap with confidence, and enjoy the cheesy rewards. You’ve totally earned it. Now, where did I put that napkin…?