
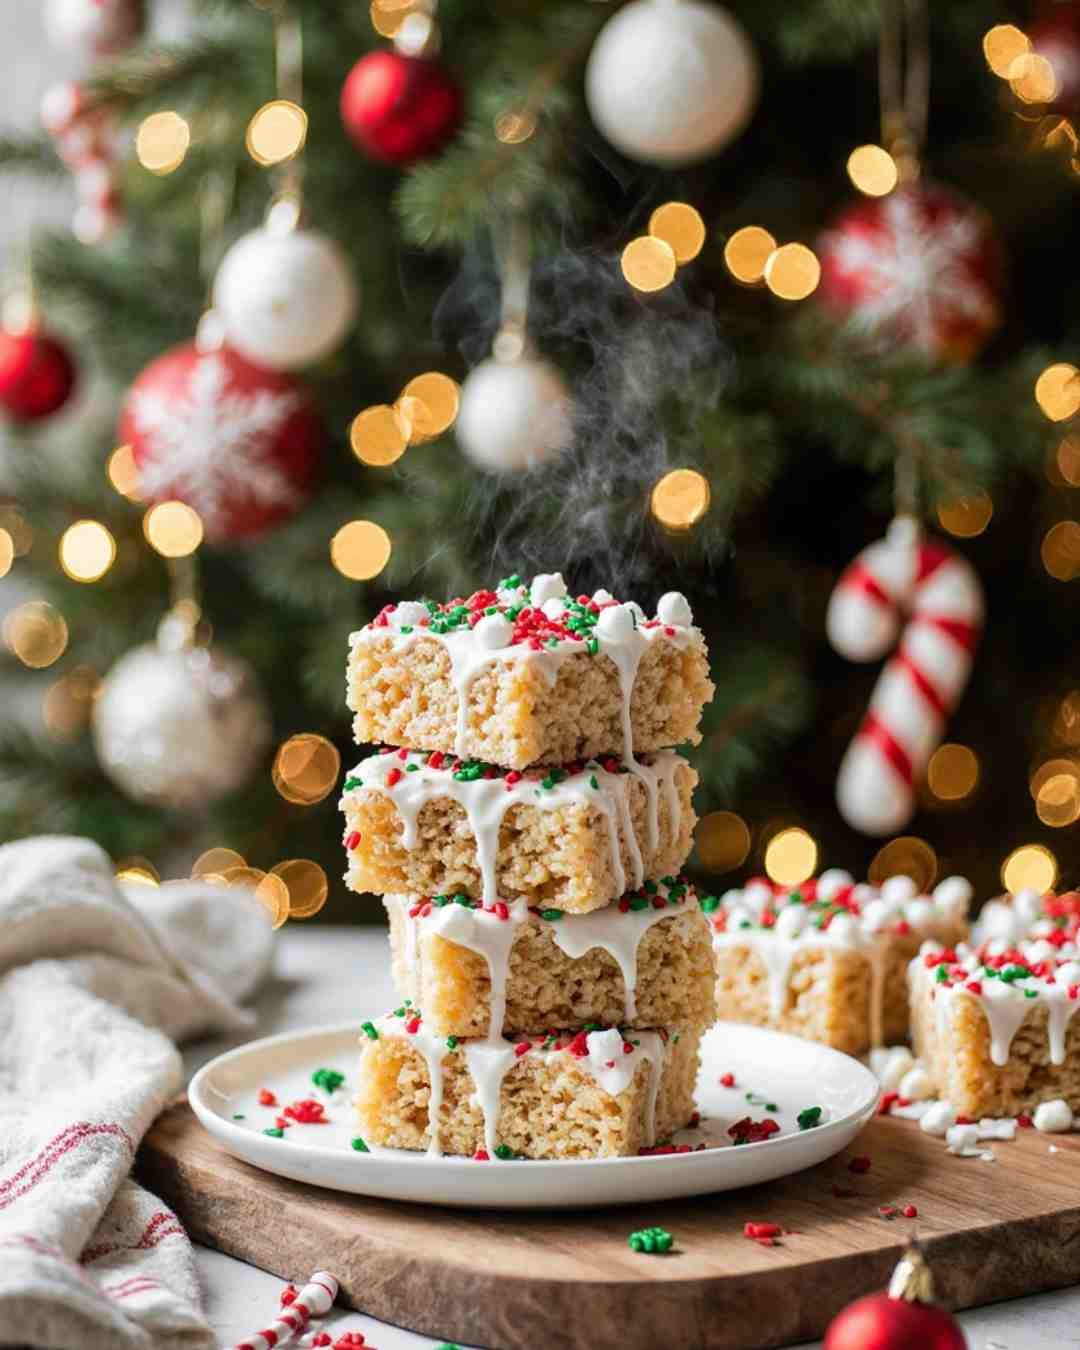
Festive Christmas Rice Krispie Treats (Easy No-Bake Dessert!)
If December had a flavor, it would be buttery marshmallow and crunch — wrapped in sprinkles and dipped in holiday cheer. That’s exactly what these Christmas Rice Krispie Treats taste like.
Fast, kid-friendly, ridiculously festive, and dangerously delicious, these little squares deserve a permanent spot in your holiday dessert lineup. Whether you’re making them for a cookie exchange, gifting them to neighbors, or stress-snacking while you wrap presents at 1 AM (we’ve all been there), these treats guarantee merry vibes only.
And the best part? No oven. No fancy culinary skills. Just joy, marshmallows, and sprinkles. Let’s go, elf.
Why You’ll Love This Recipe
This recipe is coming in sleigh-bells blazing — here’s why:
- Quick AF — literally 10 minutes and done.
- Kid-approved + adult-obsessed — no age limit on marshmallow happiness.
- Zero baking required — open fire optional, hot cocoa recommended.
- Ultra-gooey texture — because life is short and we don’t do dry Rice Krispies.
- Customizable + fun to decorate — go cute, classy, or chaotic holiday energy.
- Perfect for parties & gifting — and people will ask for the recipe.
Basically? These treats are holiday magic disguised as a 6-ingredient snack.
Want another no-bake holiday treat? Try our Santa’s Cookie Bars — total crowd pleaser:
Ingredients You’ll Need
Let’s gather the festive squad:
- 6 cups Rice Krispies cereal
(Brand name or off-brand — Santa doesn’t check labels.) - 5 cups mini marshmallows
Yes, five. More marshmallows = more cheer. - 4 tablespoons unsalted butter
Salted works too; we are not here to judge butter choices. - 1 teaspoon vanilla extract
The “wow I actually tried” ingredient. - 1 cup Christmas M&M’s
Red & green for festive energy. Eat a few — chef’s tax. - Holiday sprinkles
The sparkly confetti of the baking world.
Optional but glorious extras:
- White chocolate for drizzling
- Crushed candy canes
- Holiday nonpareils or edible glitter
Pro Tip: Spray your spatula with cooking spray. Sticky hands are cute until you’re scrubbing marshmallows off your soul.
What You’ll Need (Equipment)
Not fancy — just holiday-hero basics:
- Large heavy-bottom pot
- Spatula or wooden spoon (buttered or sprayed)
- 9×13 baking dish
- Parchment paper (for sanity and clean edges)
- A holiday playlist (non-negotiable)
Bonus points if you’re wearing pajamas with cartoon reindeer.
How to Make Christmas Rice Krispie Treats
Fast, easy, festive — let’s build holiday magic one buttery step at a time.
Step 1: Melt the Butter
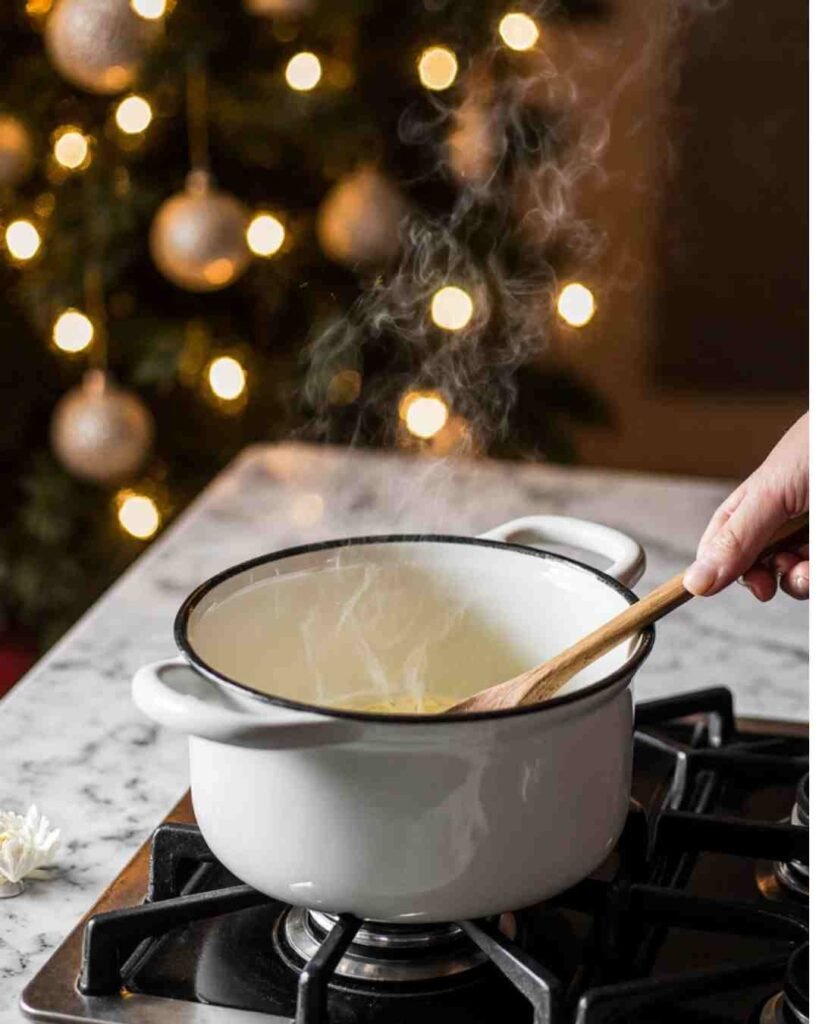
Place a large pot on low heat and melt your butter slowly. No rushing — we’re going smooth and gentle, like you’re wooing it.
If your butter starts to brown, you’ve gone rogue. Unless you love brown butter marshmallow Krispies (which honestly? Not mad about. Do your thing).
Step 2: Add the Marshmallows
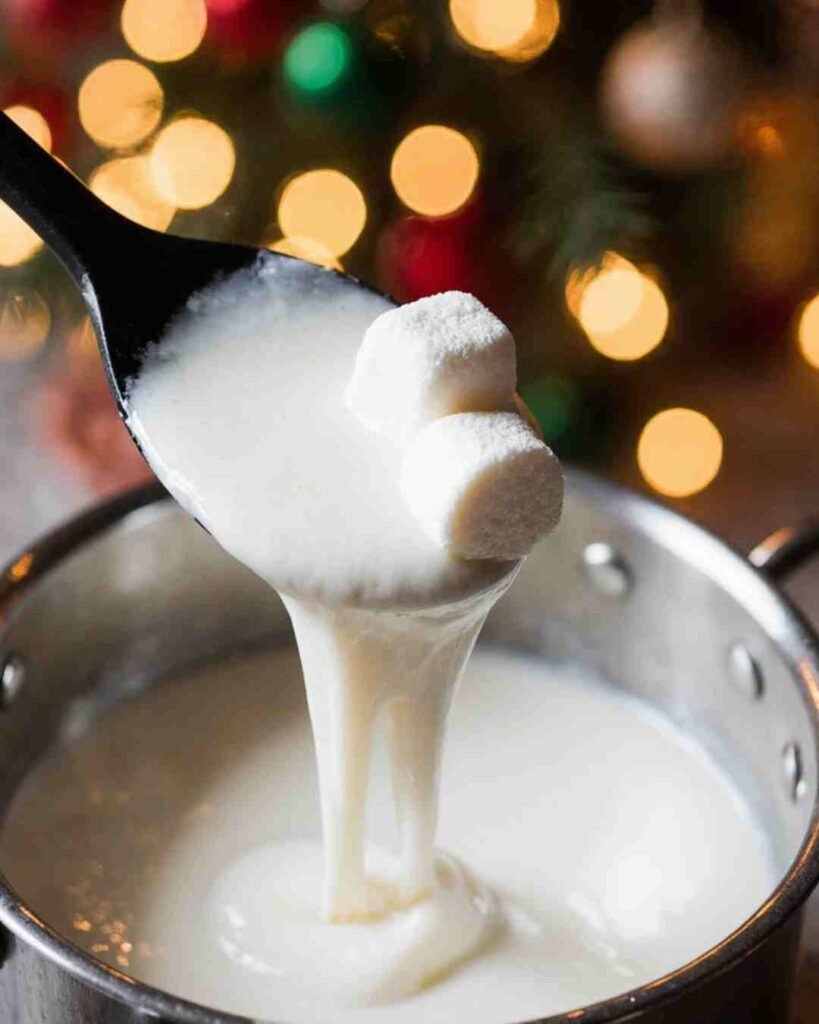
Pour in the marshmallows and stir continuously until they’re fully melted, silky, and making your kitchen smell like Christmas itself.
Chef secret: Hold back one cup of marshmallows to fold in later. Those little unmelted bites = elite gooey pockets.
Step 3: Stir in Vanilla
Add your vanilla extract and stir like you’re mixing in Christmas spirit. Because you are.
Step 4: Remove from Heat + Add Cereal

Turn the heat off — we do not scorch marshmallows here.
Pour in your Rice Krispies and fold gently until everything looks beautifully coated. Think cozy winter blanket vibes… for cereal.
Step 5: Add M&M’s + Extra Marshmallows
Fold in the reserved marshmallows plus M&M’s. Work quickly — if your pot is still piping hot, M&M’s may get melty and marble into psychedelic Christmas chaos.
Not the worst outcome, to be honest.
Step 6: Press into Pan (Gently!)
Line your pan with parchment, scoop in the mixture, and press softly. You’re coaxing here, not smashing — pillow energy, not yoga-mat energy.
Hard press = hard treats. And nobody came here for Rice Krispie bricks.
Step 7: Decorate
Time for sprinkles, chocolate drizzle, crushed peppermint — whatever feels festive and fabulous.
Imagine you’re decorating Santa’s dessert tray. Commit to the craft.
Step 8: Let Cool… Or Don’t
Let them cool 20–30 minutes. Or cut a warm corner immediately like a rebel. Holiday rules are flexible.
Common Mistakes to Avoid
Let’s avoid holiday heartbreak:
- Using high heat
Melted marshmallows should look dreamy, not fried. - Pressing too hard
Unless you want holiday defense-weapon level hardness, go gentle. - Adding chocolate too early
Melted M&M swirls = Picasso Christmas. Pretty, but not the goal. - Skipping parchment paper
Unless you enjoy chiseling treats from pans like an archeologist. - Thinking “just a little less butter” is okay
It’s Christmas. Stop that.
Festive Variations & Substitutions
Want options? Oh, we have options.
Peppermint Twist
Candy cane crumbs + white chocolate drizzle = North Pole bakery vibes.
Hot Cocoa Style
Add mini chocolate chips and marshmallow fluff ribbons.
Holiday Unicorn Version
Use colorful sprinkles + white Krispies for magical chaos.
Gift-able Shapes
Press thinner + cut with cookie cutters (trees, stars, gingerbread dudes).
Gluten-free
Use certified gluten-free crisp rice cereal — easy win.
Vegan
Vegan butter + vegan marshmallows = holiday inclusivity matters.
Basically: choose your festive fighter.
Storage Tips
- Store in an airtight container 2-3 days (if they last that long).
- Do not refrigerate — fridge = sadness and stale crunch.
- Freeze up to 3 months — thaw at room temp.
If gifting, wrap individually with ribbon — Pinterest level: expert.
FAQ — Real People Ask This
Do I have to use mini marshmallows?
No, but they melt better. Big ones work — just chop them like you’re angry at student loans.
Why did my treats turn hard?
Either high heat or you pressed like Thor. Heat low, touch gentle.
Can I microwave the marshmallows instead?
Yep! Just melt butter + marshmallows in a microwave-safe bowl, 30-second bursts, stirring between.
Can I double this recipe?
Yes — especially if you’re bringing them to a holiday party where Linda always tries to out-bake everyone. Not this year, Linda.
Can kids help?
Yes — but keep them away from the hot pot and let them handle sprinkles like the tiny chaos elves they are.
Want a holiday treat dogs can enjoy too? Try our Homemade Christmas Dog Treats over at Loyal Paw Club:
Final Thoughts
There you go — the easiest holiday win ever. Chewy, buttery, colorful, nostalgic, and festive enough to make even the Grinch smile.
Make a batch for your cookie plate, stack them in pretty cellophane bags for gifts, or just eat them warm with cocoa while watching cheesy Christmas movies.
Life is short. Add the sprinkles.
And when people ask “Omg did you make these?”
Smile sweetly and say, “Yes — and it only took 10 minutes.”
Santa would be proud.
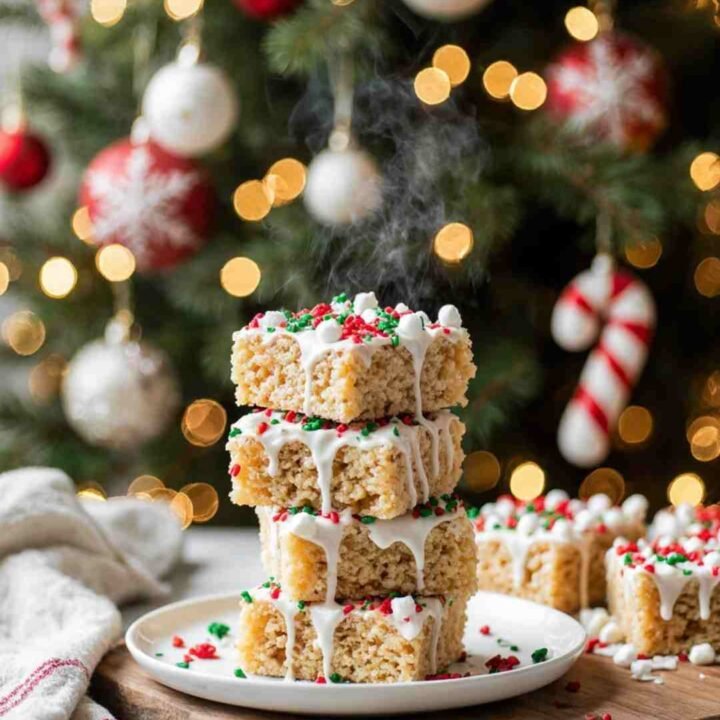
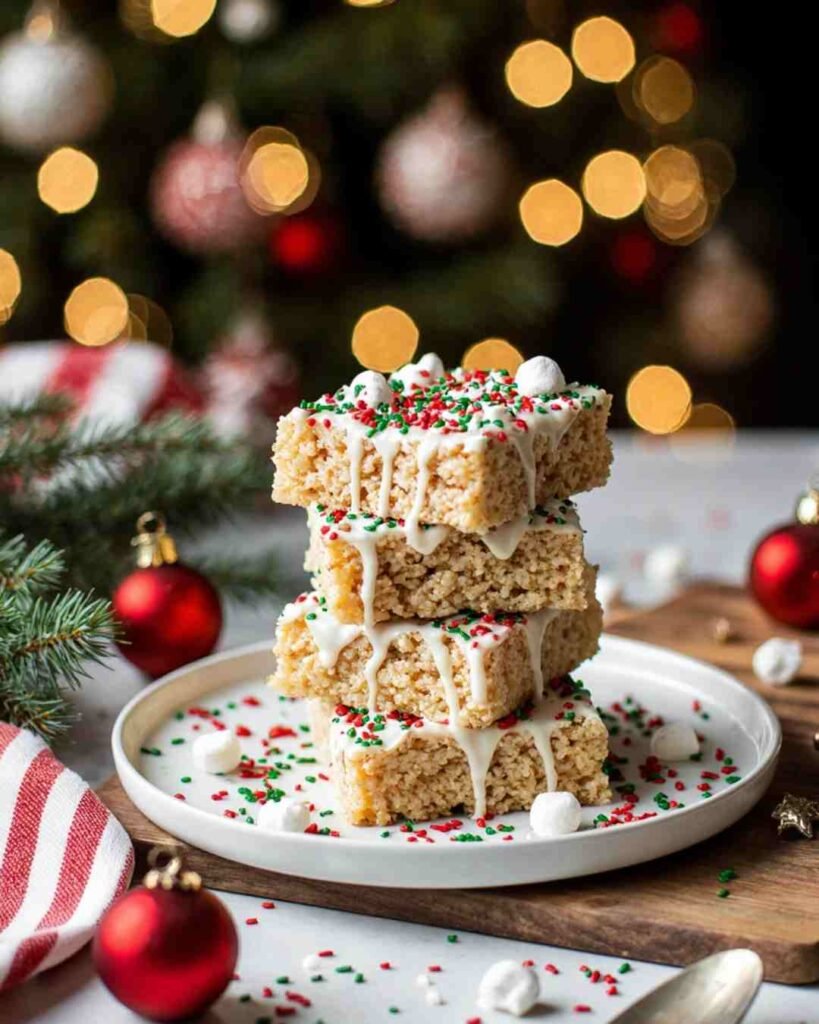
Christmas Rice Krispie Treats
These Christmas Rice Krispie Treats are the ultimate festive, no-bake dessert! Chewy, gooey, and loaded with holiday sprinkles and red-and-green M&M’s, they come together in just 10 minutes for an irresistibly easy Christmas party treat. Perfect for cookie trays, gift boxes, or a fun family baking night!
Ingredients
- 6 cups Rice Krispies cereal
- 5 cups mini marshmallows (divided: 4 cups melted, 1 cup folded in later)
- 4 tablespoons unsalted butter
- 1 teaspoon vanilla extract
- 1 cup red and green Christmas M&M’s
- ¼ cup holiday sprinkles (plus more for topping)
- Optional: ½ cup melted white chocolate for drizzle
Instructions
- Melt the butter: In a large pot over low heat, melt the butter slowly until smooth.
- Add marshmallows: Stir in 4 cups of mini marshmallows. Mix gently until completely melted and glossy.
- Add vanilla: Stir in the vanilla extract for extra flavor.
- Remove from heat: Take the pot off the heat to prevent overcooking the marshmallows.
- Add cereal: Fold in the Rice Krispies cereal until every piece is evenly coated in melted marshmallow.
- Mix in extras: Quickly stir in the remaining 1 cup of mini marshmallows and M&M’s. (Don’t overmix or the candies will melt.)
- Press into pan: Line a 9x13-inch pan with parchment paper, then press the mixture gently and evenly into the pan using a buttered spatula.
- Decorate: Top with sprinkles and drizzle with melted white chocolate if desired.
- Cool and cut: Let cool for 20–30 minutes, then slice into squares and serve.
Notes
Nutrition Information:
Yield: 12 large squares or 24 small squaresAmount Per Serving: Calories: 180Total Fat: 5gCarbohydrates: 32gFiber: 0.5gSugar: 19gProtein: 1g