
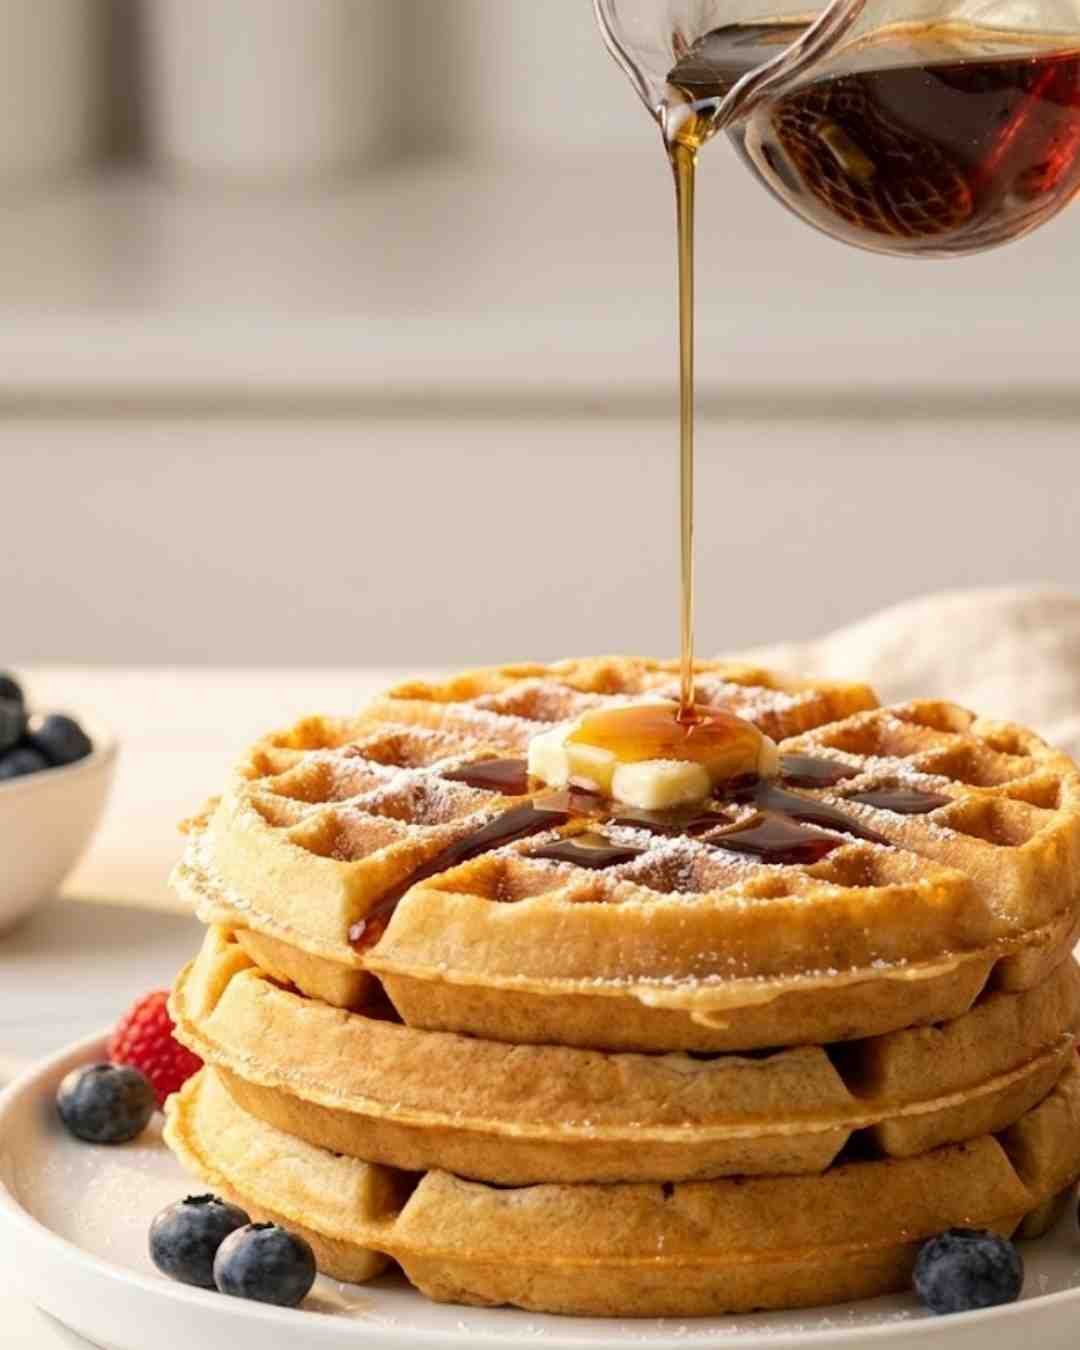
Homemade Waffles with Buttery Flavor & Crisp Edges
Crispy homemade waffles are the kind of breakfast that instantly makes your day better. The buttery flavor, the golden crisp edges, the fluffy center—everything about them screams comfort and joy. One bite and you’ll swear you’ve unlocked a secret brunch superpower. These waffles cook up fast, taste incredible, and make you look like you know exactly what you’re doing in the kitchen… even if you’re still half-asleep.
This recipe uses simple ingredients, zero complicated techniques, and comes together faster than you can decide what toppings to use. Whether you want a cozy breakfast, a Pinterest-worthy brunch spread, or a late-night “I deserve this” moment, these waffles show up for you. Ready? Let’s waffle.
If you love cozy breakfast recipes, make sure to also try my
Protein French Toast Recipe — it’s another reader favorite!
Why These Crispy Homemade Waffles Are the Best
There are a million waffle recipes out there, so why this one? Easy — because it works every single time, and it gives you that perfect balance of crisp and fluffy that the best food blogs swear by. Melted butter adds richness and caramelizes beautifully in the hot iron. Baking powder delivers a gorgeous lift. And a properly heated waffle iron transforms this simple batter into crunchy-edged perfection.
But what really makes these waffles special is the texture: crisp on the outside, tender inside, with a buttery aroma that fills the whole kitchen. And if you’re the type who likes customizing (berries? chocolate chips? cinnamon?), the batter plays well with nearly anything. It’s reliable, adaptable, and low-effort — basically the waffle version of your best friend.
Ingredients You’ll Need
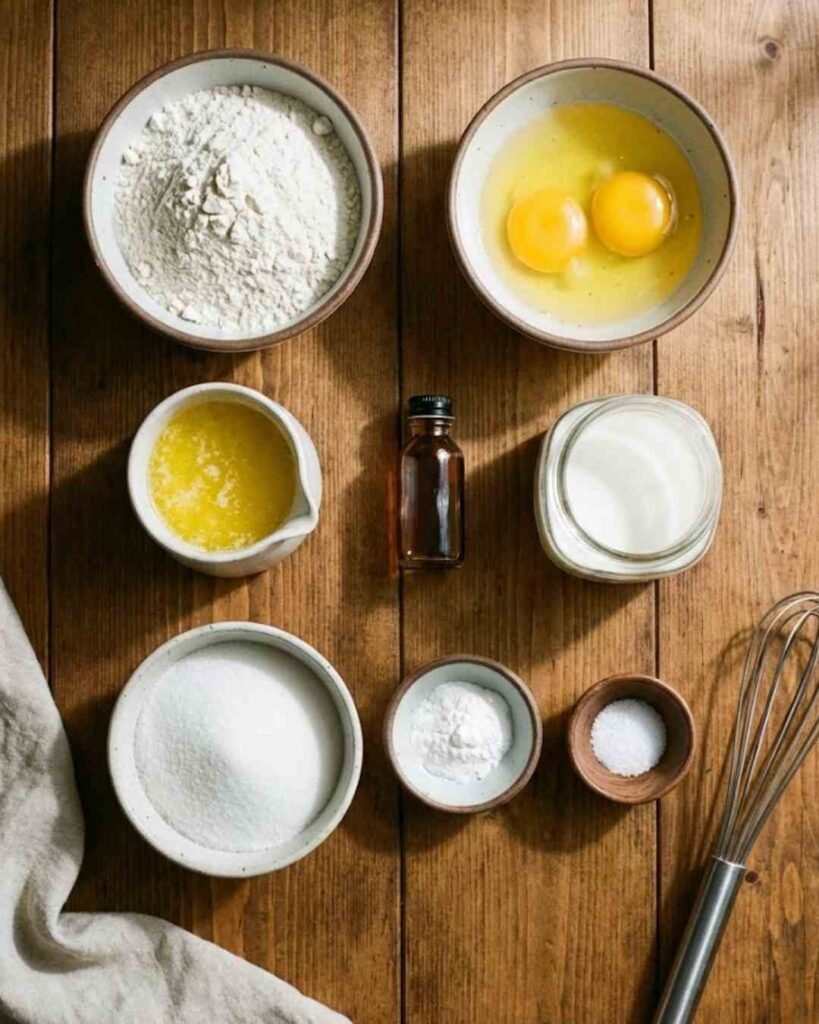
Let’s break it down — nothing fancy, nothing weird, just ingredients that come together like waffle magic.
Dry Ingredients
- 2 cups all-purpose flour — the foundation of everything delicious
- 2 tablespoons sugar — for a little sweetness and better browning
- 2 teaspoons baking powder — the lift that gives waffles their signature fluff
- ½ teaspoon salt — balances flavor like a pro
- (Optional) 2 tablespoons cornstarch — for ultra-crisp edges
Wet Ingredients
- 2 large eggs — for richness and structure
- 1¼ cups milk — whole milk is best for flavor, but use what you have
- ½ cup melted butter — the buttery star of this recipe
- 1 teaspoon vanilla extract — small amount, big impact
- (Optional) pinch of cinnamon for cozy flavor notes
Toppings You Might Want
- Maple syrup
- Fresh berries
- Whipped cream
- Nutella
- Honey butter
- Powdered sugar
- Caramel drizzle (live your truth)
For more warm breakfast ideas, check out this creamy comfort classic:
Ultra Creamy Chicken and Rice Bake — perfect for lunch or dinner.
Step-by-Step Instructions
Before You Begin
Just a reminder: a hot waffle iron makes crispy edges. A cold waffle iron makes disappointment. Keep that in mind as you start.
Step 1: Preheat the waffle iron
Let’s start with the step that everyone thinks they can skip… until they regret it. A fully heated waffle iron is the difference between “crispy brilliance” and “mushy breakfast sadness.” Turn it on now and let it heat while you mix the batter. You want it hot hot, not “yeah okay I guess this is warm enough.”
Step 2: Mix the dry ingredients
Grab a large bowl and whisk together the flour, sugar, baking powder, salt, and optional cornstarch.
Why whisk? Because nobody wants dry pockets of flour in their waffles. Besides, whisking is free therapy.
Step 3: Mix the wet ingredients
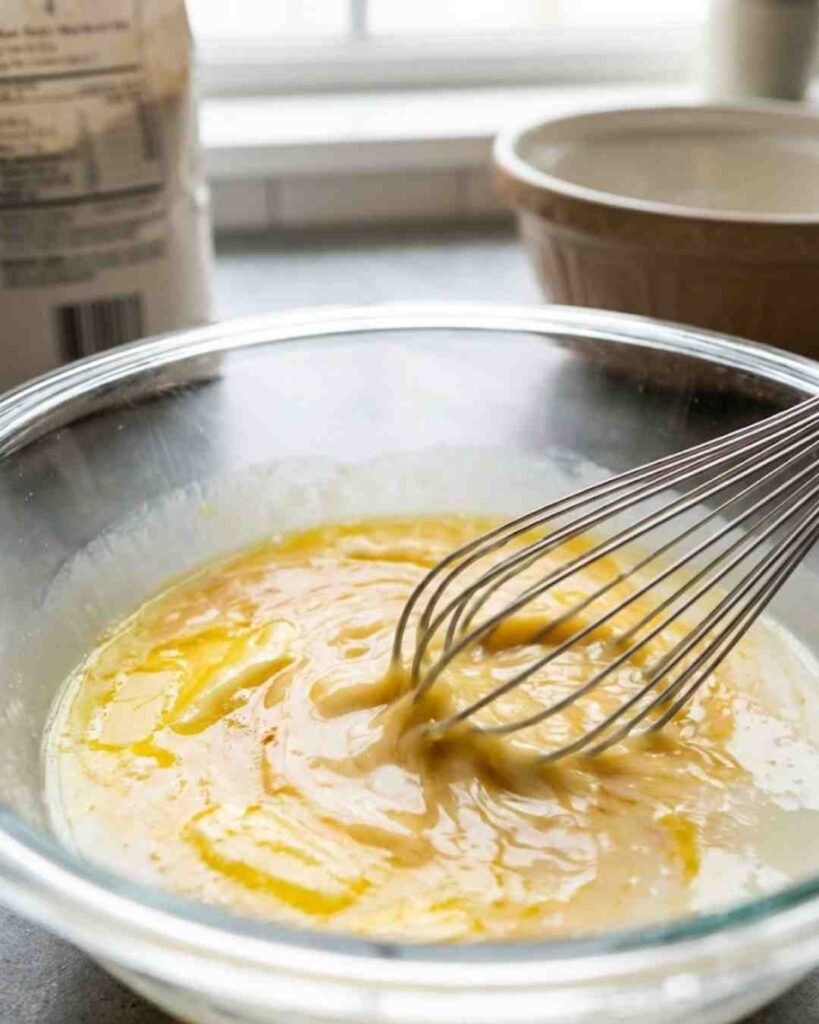
In a separate bowl, whisk together the eggs, milk, vanilla, and melted butter. Make sure the butter is melted but not piping hot, unless your goal is scrambled-egg waffles. (Please don’t make scrambled-egg waffles.)
The mixture should look smooth and slightly glossy — like it’s already excited to become a waffle.
Step 4: Combine wet + dry
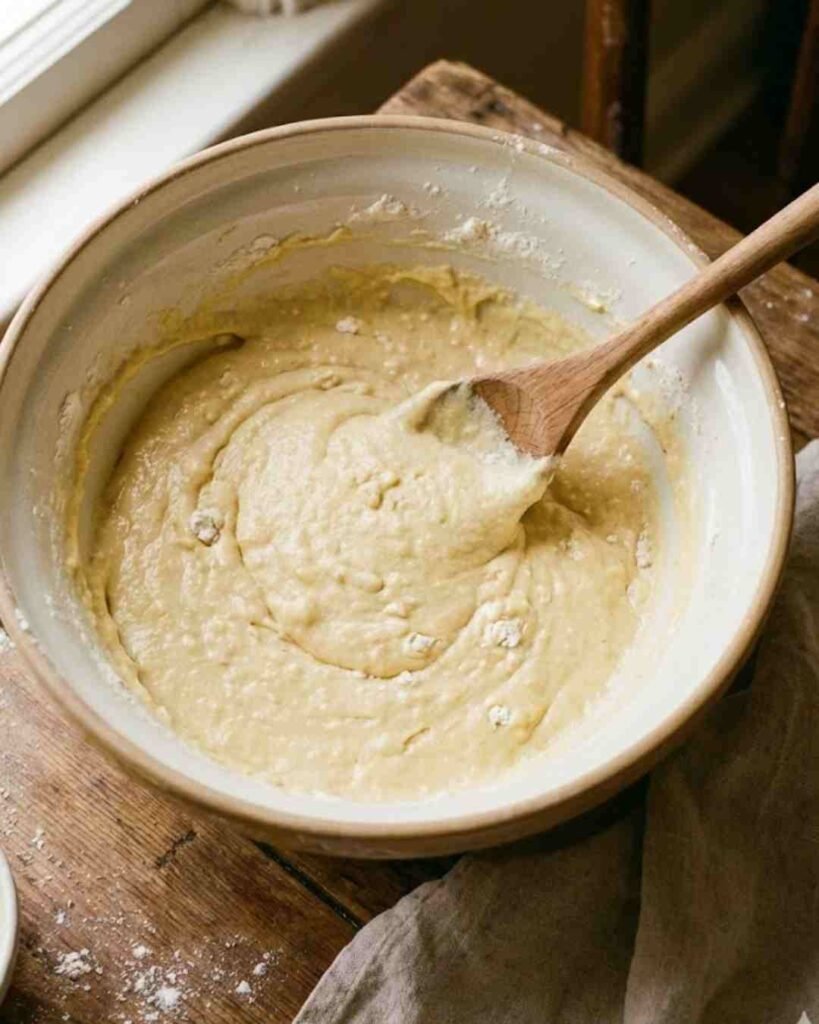
Pour the wet mixture into the dry bowl. Use a whisk or spatula to mix gently until the batter forms. A few small lumps are perfect.
Think “lazy mixing.”
Think “I refuse to overwork this batter.”
If the batter looks too smooth, you probably went too far — but don’t panic, the waffles will still be good.
A nonstick USA Pan Cooling Rack keeps waffles crisp while you finish the batch.
Step 5: Grease the waffle iron
Even if your waffle maker says it’s nonstick… they all lie.
Brush the plates with melted butter or spray lightly with oil. Butter adds flavor and encourages the edges to crisp beautifully, so it gets bonus points.
Step 6: Pour the batter and cook
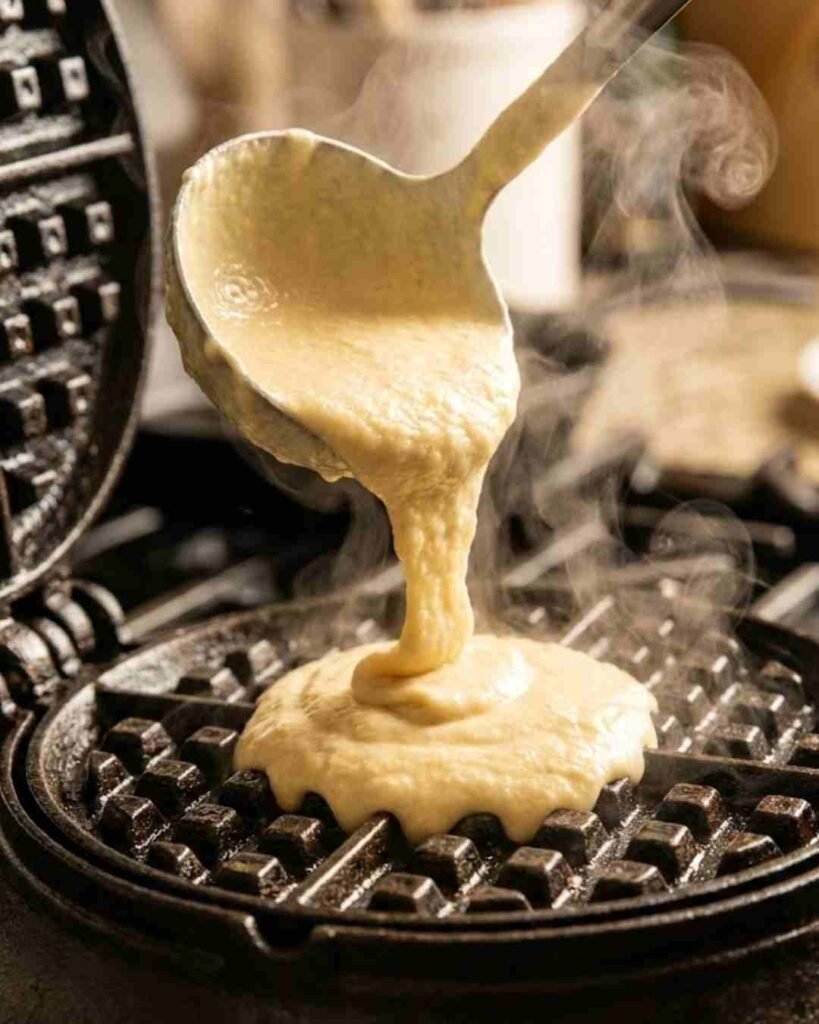
Time to waffle! Pour the batter into the hot iron — enough to cover the surface but not so much that it erupts like waffle lava. Close the lid and step back. Don’t peek. Peeking leads to sticking, tearing, crying, and general waffle heartbreak.
Most waffle irons take 3–5 minutes to cook, but you’ll know they’re ready when they’re deeply golden and crisp.
Step 7: Keep waffles warm (without ruining them)
Put cooked waffles on a wire rack in a 200°F (95°C) oven.
Why a rack? Because air circulation keeps them crisp.
Why not stack them? Because stacking = steam = soggy waffles = emotional damage.
This step is optional but amazing if you’re feeding people or making a whole batch.
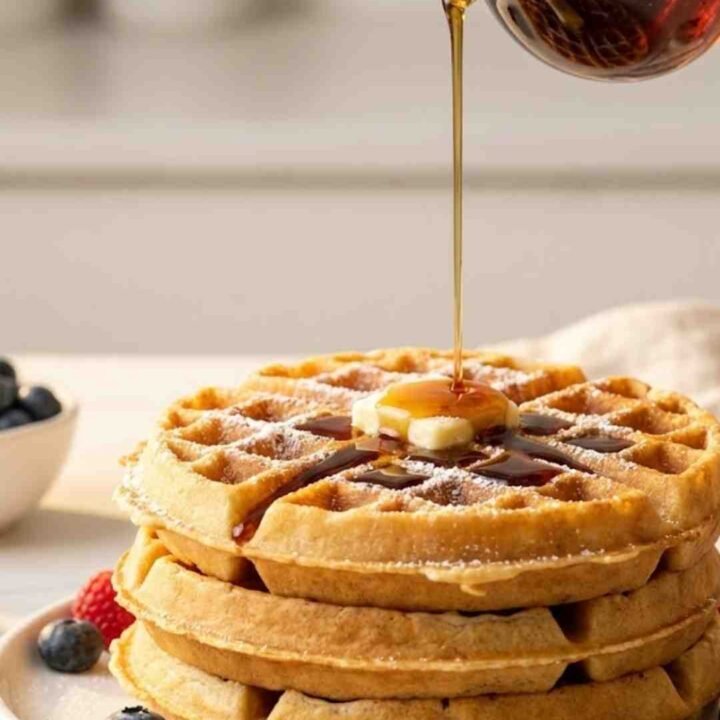
Step 8: Serve immediately

The moment has arrived. Add butter, syrup, berries, powdered sugar, whipped cream — whatever you want. This is not the time to be shy. Eat while they’re hot and crisp. Waffles wait for no one.
For toppings, a bottle of Organic Maple Syrup Grade A Amber adds the perfect finishing touch.
Common Mistakes to Avoid
Let’s keep your waffle journey smooth:
- Not preheating the waffle iron. Don’t do it. Just don’t.
- Overmixing the batter. You’re making waffles, not bread. Chill.
- Using cold butter. Melted butter = crisp edges + flavor explosion.
- Opening the waffle iron too early. The suspense is worth it.
- Stacking waffles. This crime should be punishable by sogginess.
Alternatives & Substitutions
Here’s where you can customize without ruining the magic.
Milk Alternatives
- Almond milk
- Oat milk
- Soy milk
- Lactose-free milk
They’ll change the flavor slightly, but the waffles stay great.
Butter Alternatives
- Melted coconut oil
- Neutral vegetable oil
But honestly… butter hits differently.
Flour Variations
- Half whole-wheat + half all-purpose = hearty waffles
- Gluten-free blend = surprisingly fluffy
- Add 1–2 tablespoons cocoa powder for chocolate waffles
Flavor Boosts
- Cinnamon or nutmeg
- Lemon zest
- Mini chocolate chips
- Blueberries
These waffles are very forgiving — customize away.
If you’re experimenting with gluten-free options, the Bob’s Red Mill 1-to-1 Gluten-Free Flour works beautifully in waffle recipes.
Make Ahead & Storage
If you’re the “plan ahead” type (or the “I made too many waffles” type), here’s what to do:
Make Ahead
- Prep dry ingredients the night before. Just mix in a bowl and cover.
- Wet ingredients can be whisked ahead too — except the melted butter. Add that fresh in the morning.
Storing Leftover Waffles
First step: cool completely on a wire rack.
Then:
- Store in the fridge: up to 4 days in an airtight container.
- Freeze: up to 3 months. Freeze in a single layer, then bag them so they don’t stick together.
Reheating Tips
- Toaster: Crisps perfectly.
- Air fryer: Phenomenal, especially for freezer waffles.
- Oven: Great for big batches.
- Microwave: Only if you enjoy soft waffles and regret.
A compact Dash Mini Waffle Maker is also great if you want perfectly portioned freezer waffles.
FAQ (Frequently Asked Questions)
1. Why are my waffles not crispy?
Probably because the waffle iron wasn’t hot enough, or you opened the lid early. Heat + patience = crisp perfection.
2. Can I make this batter ahead of time?
You can, but the baking powder starts doing its job early. For the fluffiest waffles, mix wet + dry right before cooking.
3. Why does every waffle recipe use melted butter?
Because butter makes waffles taste incredible and crisp beautifully. Oil works, but the flavor is not the same.
4. Are waffle and pancake batters the same?
Nope! Waffle batter has more fat and sometimes more sugar — that’s what creates those golden, crunchy edges.
5. Can I double this recipe?
Absolutely. Just keep the waffle iron hot and the batter gently mixed.
6. What’s the best way to freeze waffles?
Let them cool, freeze individually, then store in a zip-top bag. This prevents sticking and keeps them super crisp when reheated.
7. Why did my waffle stick to the iron?
Not enough grease or you opened the lid too early. Both are tragic but fixable.
Final Thoughts
There you have it — a waffle recipe that’s simple, delicious, buttery, crisp, customizable, and guaranteed to make you feel like you’ve mastered breakfast. These waffles are reliable enough for weekdays, impressive enough for weekends, and easy enough for anyone to make (even before coffee… maybe).
So go on, fire up that waffle iron. Your crisp, buttery breakfast masterpiece awaits.
And if your family or friends ask for the recipe?
Go ahead and take the credit. I won’t tell. If you enjoy simple, flavor-packed meals, you’ll also love my
Creamy Chicken and Rice Soup — cozy and delicious any day of the week.
Crispy Homemade Waffles with Buttery Flavor
These crispy homemade waffles are golden, buttery, and perfectly fluffy inside while staying crisp around the edges. Easy to make with simple pantry ingredients, they’re the ultimate breakfast treat for weekends, brunch, or anytime you crave something warm and comforting. Serve with butter, syrup, fruit, or your favorite toppings.
Ingredients
- 2 cups all-purpose flour
- 2 tablespoons granulated sugar
- 2 teaspoons baking powder
- ½ teaspoon salt
- Optional: 2 tablespoons cornstarch (extra crisp texture)
- 2 large eggs
- 1¼ cups milk (whole milk preferred)
- ½ cup melted butter
- 1 teaspoon vanilla extract
- Optional: ¼ teaspoon cinnamon
Instructions
- Preheat your waffle iron until fully heated. A hot iron creates crisp edges.
- Mix dry ingredients: In a large bowl, whisk together the flour, sugar, baking powder, salt, and optional cornstarch.
- Mix wet ingredients: In another bowl, whisk eggs, milk, melted butter, and vanilla until smooth.
- Combine: Pour the wet mixture into the dry ingredients. Stir gently until just combined. Small lumps are normal—don’t overmix.
- Grease waffle iron: Lightly brush with melted butter or spray oil.
- Cook waffles: Pour batter into the waffle iron and cook until golden and crisp, about 3–5 minutes depending on your machine.
- Keep warm: Place cooked waffles on a wire rack in a 200°F (95°C) oven to keep them crisp while you finish the batch.
- Serve: Add butter, syrup, fruit, or your favorite toppings. Enjoy immediately.
Notes
- Don’t overmix the batter or your waffles may turn dense. A few lumps are perfect.
- Add cornstarch to the dry mix for even crispier waffles.
- Make ahead: Freeze leftovers and reheat in a toaster or air fryer to restore crispness.
- Mix-ins: Add mini chocolate chips, cinnamon, blueberries, or lemon zest for extra flavor.
- Storage: Store waffles in an airtight container 3–4 days, or freeze up to 3 months.
- Avoid stacking: Stacking fresh waffles traps steam and makes them soft. Cool on a rack instead.
Nutrition Information:
Yield: 6 servingsAmount Per Serving: Calories: 285Total Fat: 15gSaturated Fat: 9gCarbohydrates: 32gFiber: 1gSugar: 6gProtein: 6g