
Old-Fashioned Homemade Eggnog Recipe (Creamy & Easy!)
Old-Fashioned Homemade Eggnog Recipe lovers, brace yourself — because once you taste this creamy, cozy homemade version, you’ll never look at store-bought eggnog the same way again. This drink is silky, warm, lightly spiced, and basically everything your holiday dreams are made of.
Homemade eggnog? Whole different universe. We’re talking silky, cozy, lightly spiced, and so good you’ll wonder why you didn’t make it sooner. This old-fashioned version tastes like a warm hug from your future festive self — the one wearing fluffy socks, sipping something creamy, and feeling very main-character-at-Christmas-market energy.
And the best part? It’s way easier than people think. Once you make it at home, you’ll join the elite “I don’t drink carton nog anymore” club. Trust me… it’s a good club.
Why This Recipe Works
Top-ranking eggnog recipes always highlight why their version hits differently — so here’s the magic behind this one:
- Perfect texture every time — no lumps, no scrambled egg surprises, no weird graininess. Smooth like velvet.
- Balanced sweet + spice flavor — not overly sugary like store versions, and not overly spiced like you’re trying to drink a Christmas tree.
- Customizable for every vibe — chilled, warm, booze-free, boozy, super thick, lighter, you name it.
- Foolproof process — the tempering step makes it newbie-friendly, and I’ll walk you through it like we’re cooking side by side.
- Uses real ingredients — fresh milk, real cream, actual spices. Nothing with a shelf life of three years.
It’s old-fashioned in a charming way… the kind of drink humans were probably enjoying when carolers still went door to door.
If you love that authentic flavor, freshly grating nutmeg with the Microplane Premium Zester is a total game changer.
Ingredients
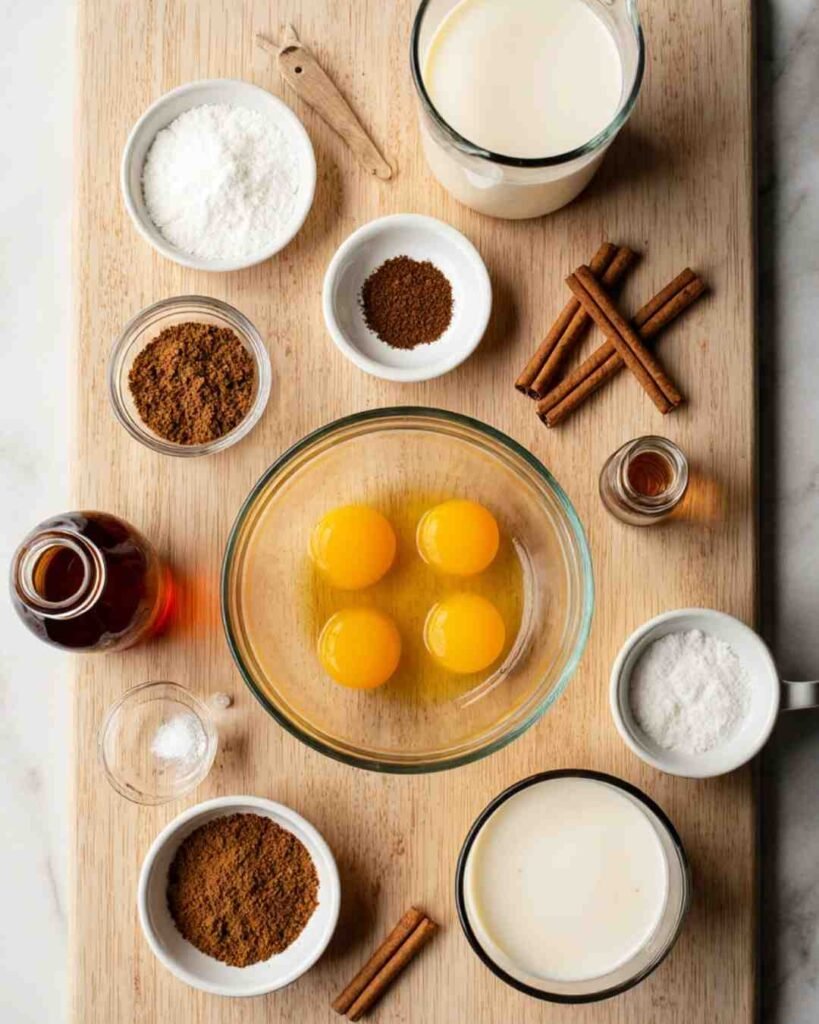
These are the classic ingredients used in the highest-ranking eggnog recipes — simple, authentic, and holiday-perfect. And of course, I added a little commentary because ingredients shouldn’t be boring.
- 4 large egg yolks — the OG thickener and flavor base.
- 1/2 cup granulated sugar — sweet but not “help me, my teeth hurt” sweet.
- 2 cups whole milk — don’t use skim unless you enjoy sadness.
- 1 cup heavy cream — richness level: elite.
- 1 teaspoon vanilla extract — because vanilla makes everything better.
- 1/2 teaspoon nutmeg — freshly grated if you want to feel fancy.
- 1/2 teaspoon cinnamon — warm and essential.
- Pinch of salt — wakes all the flavors up.
- Optional: rum, bourbon, or brandy — choose the personality you want your nog to have.
Nothing complicated. Nothing pretentious. Just holiday joy in ingredient form.
All simple ingredients you probably already have. If you’re into easy holiday recipes, you may also love my Creamy Garlic Salmon Pasta — perfect for Christmas Eve dinner.
Tools You’ll Need
Top-ranking recipes often include tools because they actually matter for eggnog texture. Luckily, this list is basic:
- Medium saucepan
- Whisk (bonus points if you whisk dramatically)
- Mixing bowl
- Fine-mesh strainer (optional but great for ultra-smooth nog)
- Large spoon
- Measuring cups/spoons
- Pitcher or large jar for chilling
See? Nothing wild. You don’t need a thermometer, a blender, or a culinary degree.
But a OXO Good Grips Fine Mesh Strainer honestly makes the final texture unbelievably silky.
Step-by-Step Instructions
(Eater + TastesBetterFromScratch format, but friendlier, funnier, and more human)
1. Whisk the yolks and sugar
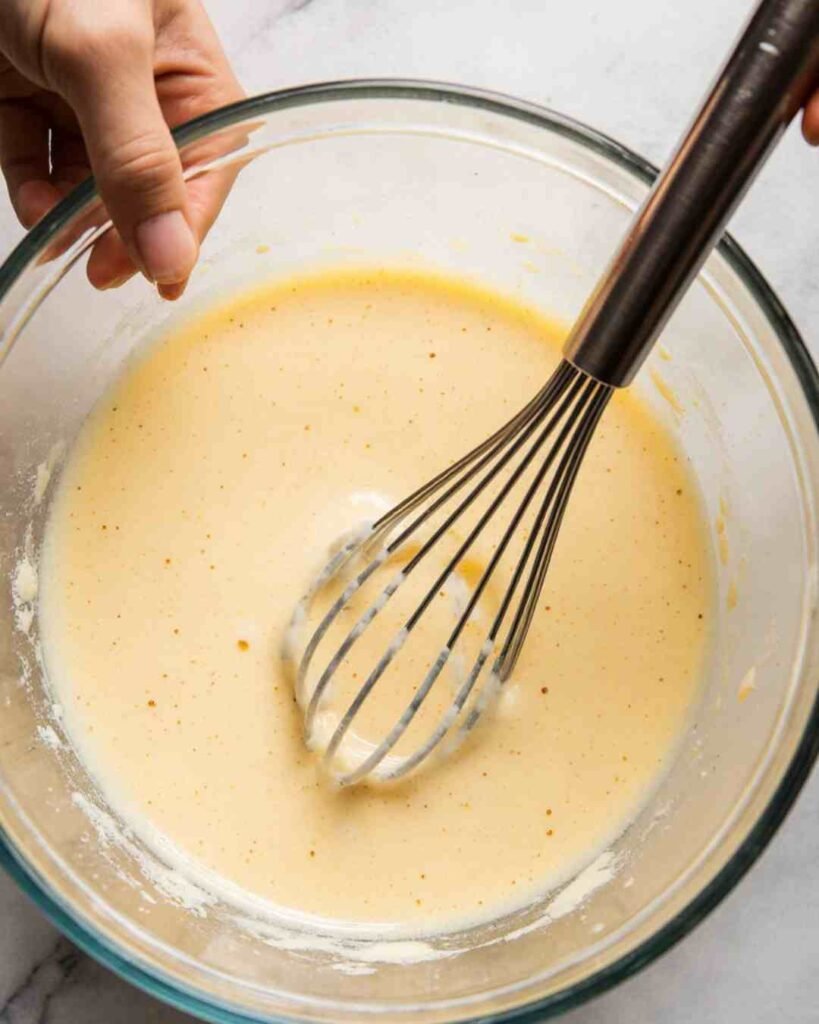
In a bowl, whisk egg yolks + sugar until the mixture turns pale and slightly fluffy.
If your arm burns a little, you’re doing it the traditional way.
If you choose an electric whisk… I won’t judge (but your ancestors might).
Pro tip: Whisk until it looks like smooth custard. That color change matters!
I swear the Pyrex Mixing Bowl Set makes whisking way easier thanks to the perfect depth.
2. Heat the milk with spices
Add milk, cinnamon, nutmeg, and salt into your saucepan and warm it over medium heat. You want steam, not boiling lava.
A gentle simmer around the edges is perfect — think “winter morning tea vibes,” not “boiling pasta water.”
Real-life advice: If you burn the milk, your eggnog will taste like sadness. Keep the heat moderate.
3. Temper the eggs (don’t skip this!)
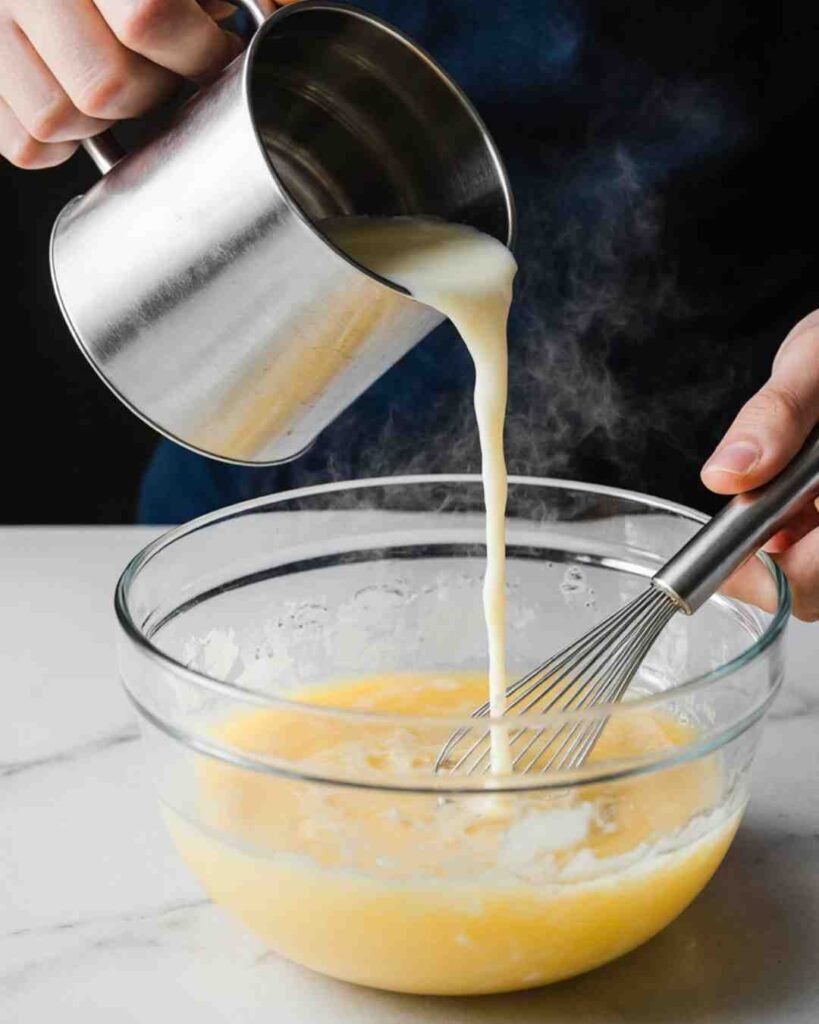
This step separates the rookies from the pros.
Slowly — and I mean slowly — pour about 1 cup of the hot milk into your yolk mixture while whisking nonstop.
This warms the eggs gradually so they don’t freak out and turn into scrambled bits.
Ever wondered how people ruin eggnog? This step, done badly. But don’t worry — you’re doing great.
If you like mastering classic techniques, you’ll love the method used in my Homemade Cottage Cheese Pancakes — also silky, smooth, and beginner-proof.
4. Combine everything back in the pot
Pour your tempered mixture into the saucepan with the remaining milk.
Keep the heat on low and stir constantly for 5–7 minutes until it thickens slightly.
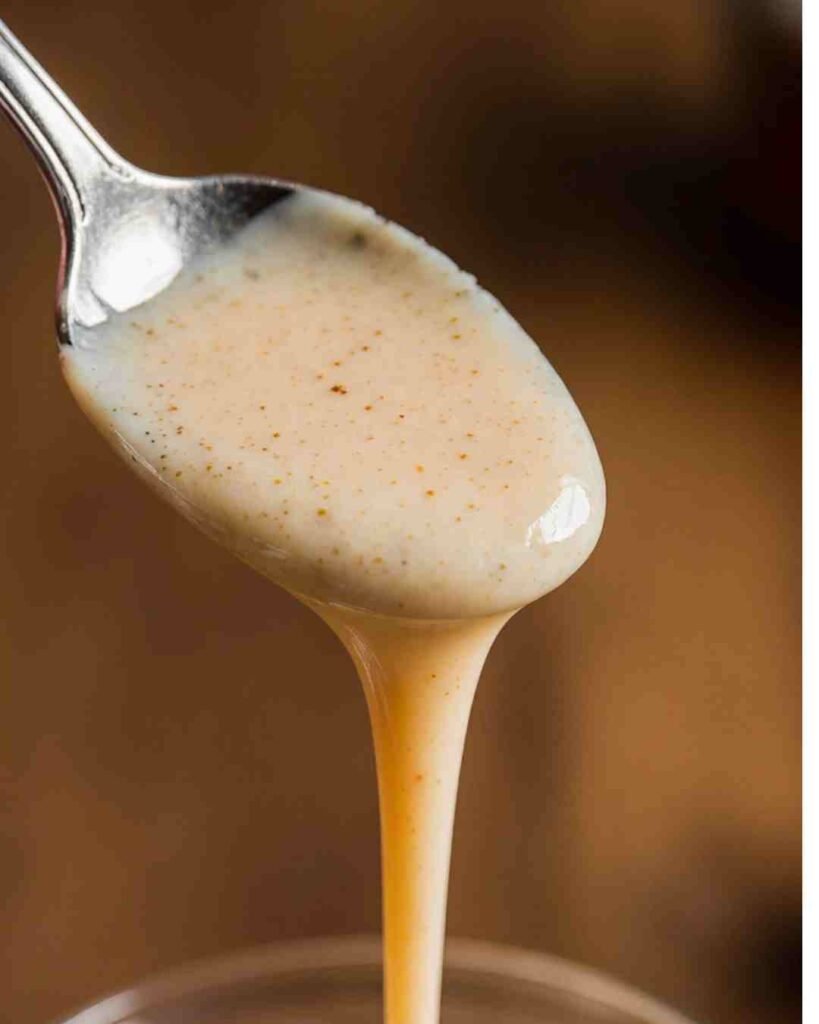
You’ll know it’s ready when it coats the back of a spoon like a silky custard.
Not pudding-like… just a gentle thickening.
My personal rule: If you start doubting whether it’s done, it probably is.
5. Add cream + vanilla
Turn off the heat and stir in heavy cream + vanilla extract.
Instant transformation. This is the moment eggnog becomes eggnog.
If you smell it and immediately think, “Oh my god,” then yes — you did it right.
6. Strain (optional but pro-level)
You don’t have to strain it, but if you want that “smooth enough to serve your judgy aunt” texture?
Strain it. Always strain it.
7. Chill or serve warm
You have two equally delicious options:
- Warm eggnog — cozy fireplace vibes
- Chilled eggnog — thick, creamy, dessert-like magic
It also thickens beautifully in the fridge as it rests.
Tips, Tricks & Variations (Based on Top-Ranking Articles)
Here’s the good stuff that helps homemade eggnog turn out perfect — plus some of my own kitchen opinions:
Use freshly grated nutmeg
It makes a huge difference. It tastes warmer, fresher, and more “wow, a real adult made this.”
Don’t rush the heating step
Fast heat = curdled nog = tears.
Low and slow wins.
Make it thicker
Add an extra yolk. Or two.
I won’t stop you.
Make it lighter
Use half-and-half instead of heavy cream.
Do I personally recommend this? Eh. Full cream is holiday joy.
Dairy-free version
Use:
- Almond milk
- Coconut cream
It’s shockingly delicious and feels tropical-meets-Christmas.
Make it ultra-smooth
Blend the final mixture for 10 seconds after cooling.
This gives you that Pinterest-level creamy finish.
Common Mistakes to Avoid
The internet is full of eggnog tragedies. Let’s prevent yours:
- Skipping tempering — rookie mistake.
- Boiling the eggs — unless you like sweet scrambled egg soup… please don’t.
- Over-spicing — nutmeg is powerful. Respect the nutmeg.
- Adding alcohol too early — the heat burns it off (and we don’t waste rum here).
- Using low-fat milk — this isn’t the time for your fitness era.
- Serving it immediately and expecting thick nog — it thickens more after chilling.
Avoid these, and your eggnog will taste festive, not chaotic.
FAQ (Modeled After Top Ranking Eggnog Sites — but Funnier)
Is homemade eggnog safe?
Yes! We cook the egg mixture. No raw egg worries.
Also, alcohol can help preserve it — but don’t rely on that too much.
Can I make it ahead?
Absolutely. It actually gets BETTER after 12–24 hours.
It’s like the flavors have time to think about their life decisions and come back stronger.
How long does homemade eggnog last?
3–4 days in the fridge.
If it lasts longer than that in your house… we need to talk.
Can I freeze eggnog?
You can, but the texture gets weird. Drink it fresh like a civilized human.
Can I make it alcohol-free?
Yes — and it’s amazing either way.
Perfect for kids, or adults who want all the cozy holiday feels without the boozy kick.
Why did my eggnog curdle?
You either heated it too fast or skipped tempering.
Don’t worry — you’re not alone. Eggnog shows no mercy.
Can I double the recipe?
Absolutely.
If you’re hosting, doubling is not just smart — it’s survival.
Final Thoughts on This Old-Fashioned Homemade Eggnog Recipe
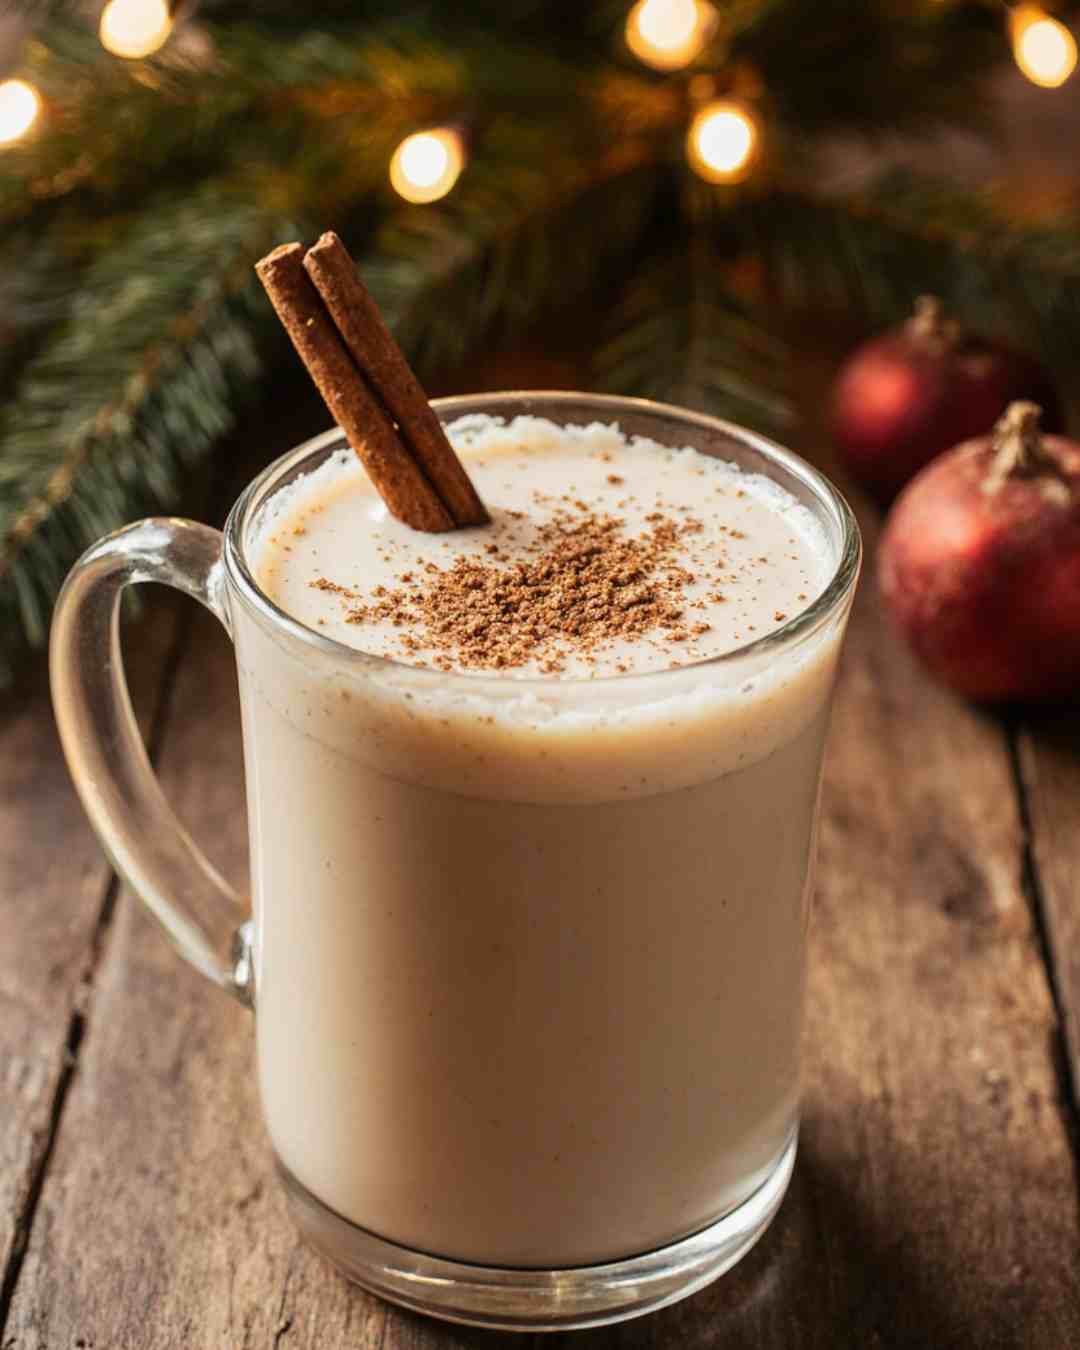
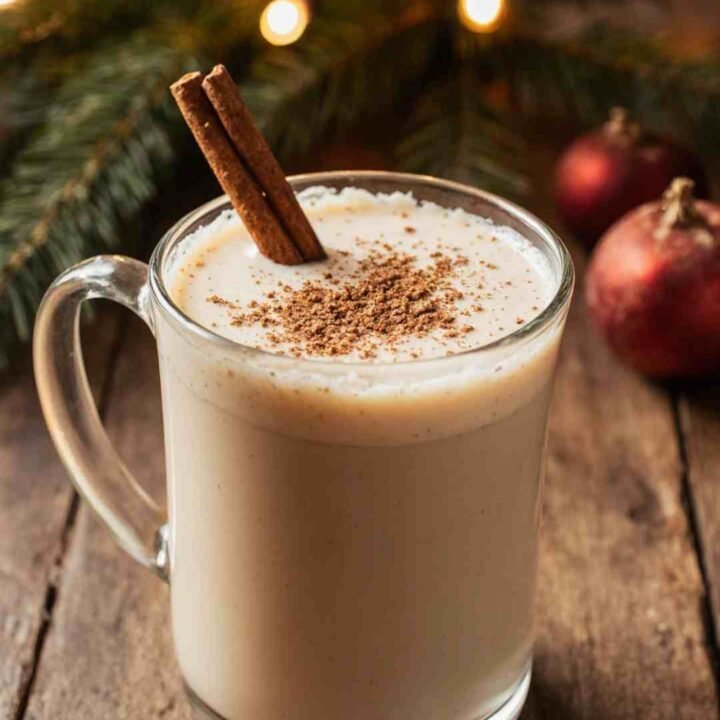
And there you have it — the kind of old-fashioned, creamy, dreamy eggnog recipe that instantly transforms your home into a cozy holiday movie scene.
If you make this, promise me you’ll serve it in a cute mug, sprinkle a little cinnamon on top, and sip it like you deserve a soft life. Because you do.
Now that you’ve made this classic drink, try serving it alongside a cozy breakfast like the Creamy Eggnog Pancakes — trust me, it feels like Christmas morning instantly.
Old-Fashioned Homemade Eggnog Recipe
This Old-Fashioned Homemade Eggnog Recipe is creamy, cozy, and perfectly spiced — the kind of holiday drink that makes every winter night feel magical. Made with real ingredients and a foolproof tempering method, it turns out silky-smooth every time. Serve it warm or chilled for the ultimate festive treat.
Ingredients
- 4 large egg yolks
- 1/2 cup granulated sugar
- 2 cups whole milk
- 1 cup heavy cream
- 1 teaspoon vanilla extract
- 1/2 teaspoon ground nutmeg (freshly grated preferred)
- 1/2 teaspoon ground cinnamon
- Pinch of salt
- Optional: 1/4–1/2 cup rum, bourbon, or brandy (to taste)
Instructions
- Whisk the egg yolks and sugar in a mixing bowl until pale and creamy.
- Heat the milk, nutmeg, cinnamon, and salt in a saucepan over medium heat until steaming (do not boil).
- Slowly pour about 1 cup of the warm milk into the egg mixture while whisking constantly to temper the eggs.
- Pour the tempered mixture back into the saucepan and cook over low heat, stirring continuously, until thickened enough to coat the back of a spoon.
- Remove from heat and stir in the heavy cream and vanilla extract.
- Strain the mixture through a fine-mesh strainer for an ultra-smooth finish.
- Chill in the refrigerator for at least 1 hour or serve warm immediately.
- Add rum, bourbon, or brandy before serving if desired.
- Pour into glasses and top with extra nutmeg or a cinnamon stick.
Notes
Nutrition Information:
Yield: 6 servingsAmount Per Serving: Calories: 260Total Fat: 17gSaturated Fat: 10gCarbohydrates: 20gSugar: 18gProtein: 5g