
White Chocolate Peppermint Cookies
Short, Catchy Intro
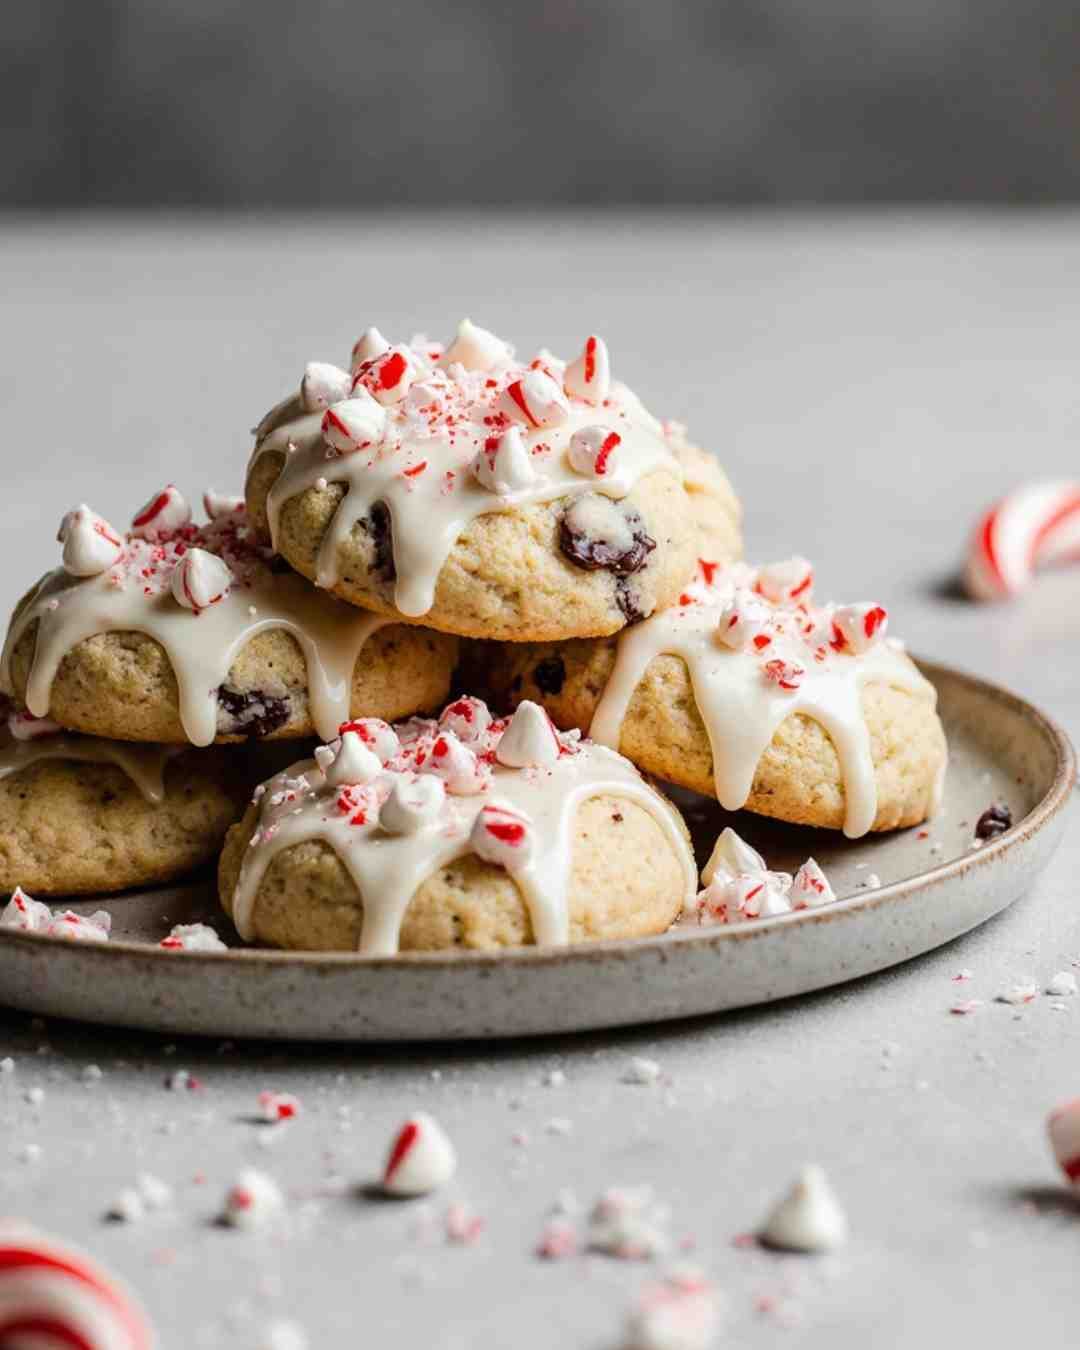
You know that cozy, magical smell that instantly makes your home feel like a winter wonderland? That’s exactly what happens when you bake these White Chocolate Peppermint Cookies. They’re soft, chewy, a little crunchy from the crushed candy canes, and absolutely bursting with holiday cheer.
This isn’t one of those “takes-all-day” recipes either — these cookies are fast, festive, and foolproof. They’re basically a shortcut to becoming the hero of every cookie exchange, holiday party, or late-night snack moment.
So grab your whisk, cue up some Mariah Carey, and let’s get baking — because this batch might just become your new December tradition.
Why This Recipe is Awesome
Let’s be honest: some Christmas cookies look great but taste… meh. Not these.
Here’s why these cookies are an absolute must-bake:
- Soft + Chewy Perfection – The combo of brown sugar and butter gives you that perfect golden edge with a melt-in-your-mouth center.
- Festive Flavor Explosion – White chocolate and peppermint are a match made in cookie heaven. It’s like biting into a minty hug.
- Quick & Easy – No chilling required. You can go from craving to cookie in under 30 minutes.
- Crowd Pleaser – Everyone loves them — kids, adults, even that picky cousin who “doesn’t like sweets.”
- Pretty Enough for Pinterest – A drizzle of melted white chocolate and a sprinkle of candy cane dust make these cookies irresistibly photogenic.
Basically, they’re the cookie equivalent of that holiday sweater everyone compliments.
Ingredients You’ll Need

Grab your favorite mixing bowl, a wooden spoon, and let’s set the stage for cookie greatness.
- 1 cup (2 sticks) unsalted butter, softened — Soft, not melted. Cold butter ruins the magic.
- ¾ cup granulated sugar — For sweetness and a crisp edge.
- ¾ cup light brown sugar — For chewiness and that deep caramel flavor.
- 2 large eggs — Room temperature = smoother mixing.
- 2 teaspoons vanilla extract — The base note that ties everything together.
- 2¾ cups all-purpose flour — Measured correctly (spoon, don’t scoop).
- 1 teaspoon baking soda — Keeps things light and fluffy.
- ½ teaspoon salt — A must for balancing sweetness.
- 1 cup white chocolate chips — The creamy, dreamy star.
- ½ cup crushed peppermint candies or candy canes — Adds color, crunch, and that signature holiday flavor.
- Optional: melted white chocolate for drizzling — Because we’re extra.
Pro Tip: Crush your candy canes inside a Ziploc bag using a rolling pin. It’s therapeutic and makes less mess.
Step-by-Step Instructions
Time to bake! Follow these steps for perfect cookies every time:
1. Preheat Your Oven
Set your oven to 350°F (175°C). Line two baking sheets with parchment paper. Don’t skip the parchment — it’s your cookie insurance policy for even baking and easy cleanup.
2. Cream the Butter and Sugars
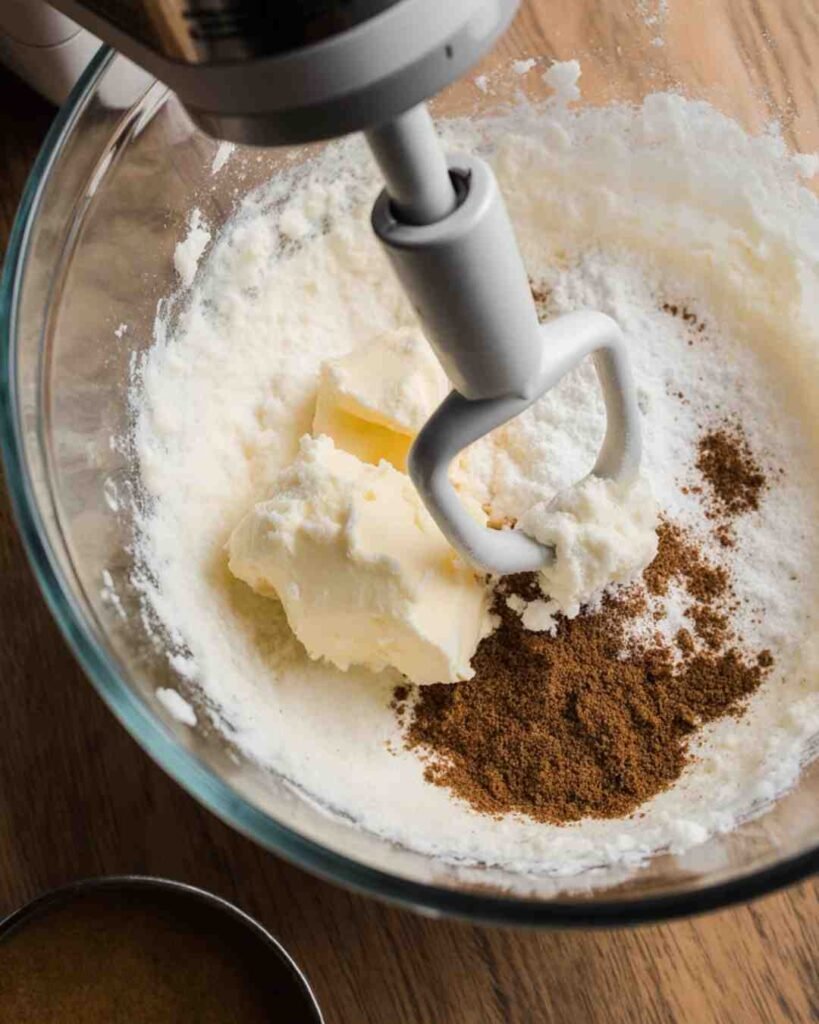
In a large mixing bowl, beat together the softened butter, granulated sugar, and brown sugar until the mixture is light and fluffy — about 2–3 minutes. This step is crucial for that chewy texture.
Pro Tip: If the butter isn’t soft enough, microwave it for 8–10 seconds — but don’t melt it completely!
Make sure your butter and eggs are fresh and safe to use — you can always check the latest USDA Food Safety Baking Guidelines if you’re unsure
3. Add the Eggs and Vanilla
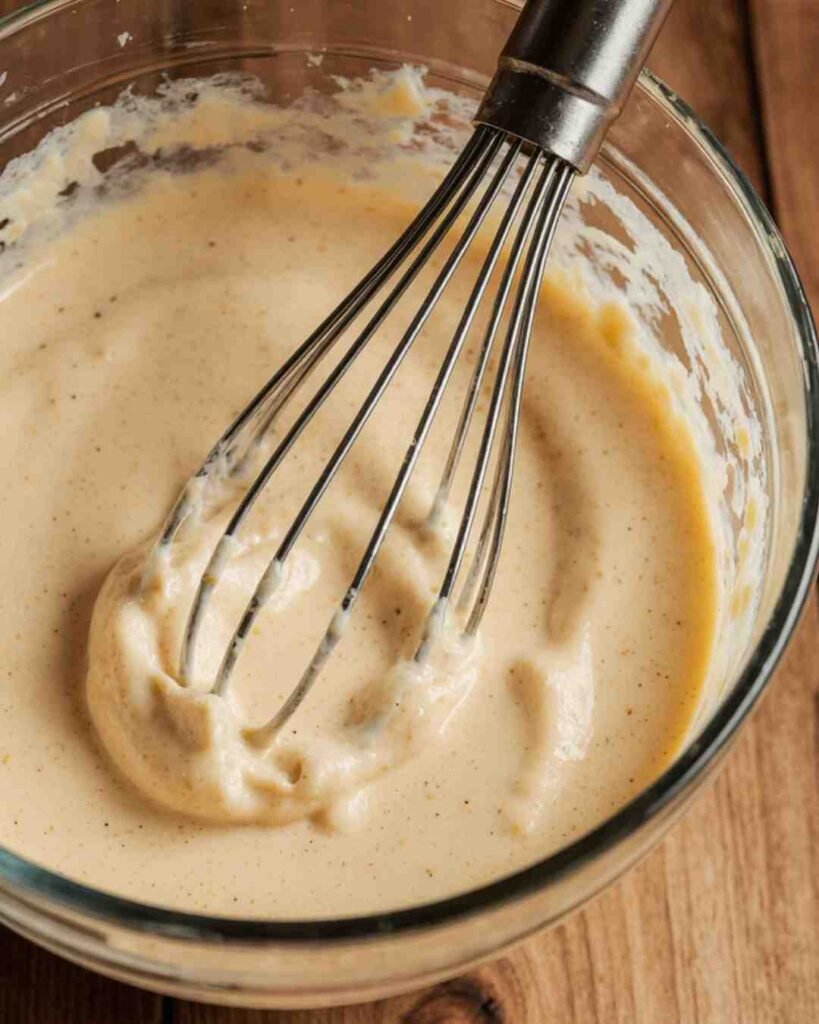
Crack in the eggs, one at a time, mixing well after each addition. Then stir in the vanilla extract. The dough should look glossy and smell incredible by now.
4. Mix the Dry Ingredients
In a separate bowl, whisk together flour, baking soda, and salt. Gradually add this dry mix to the wet ingredients. Stir just until combined — no need to overmix.
Remember: Overmixing = tough cookies. Stop as soon as the flour disappears.
5. Add the Festive Bits
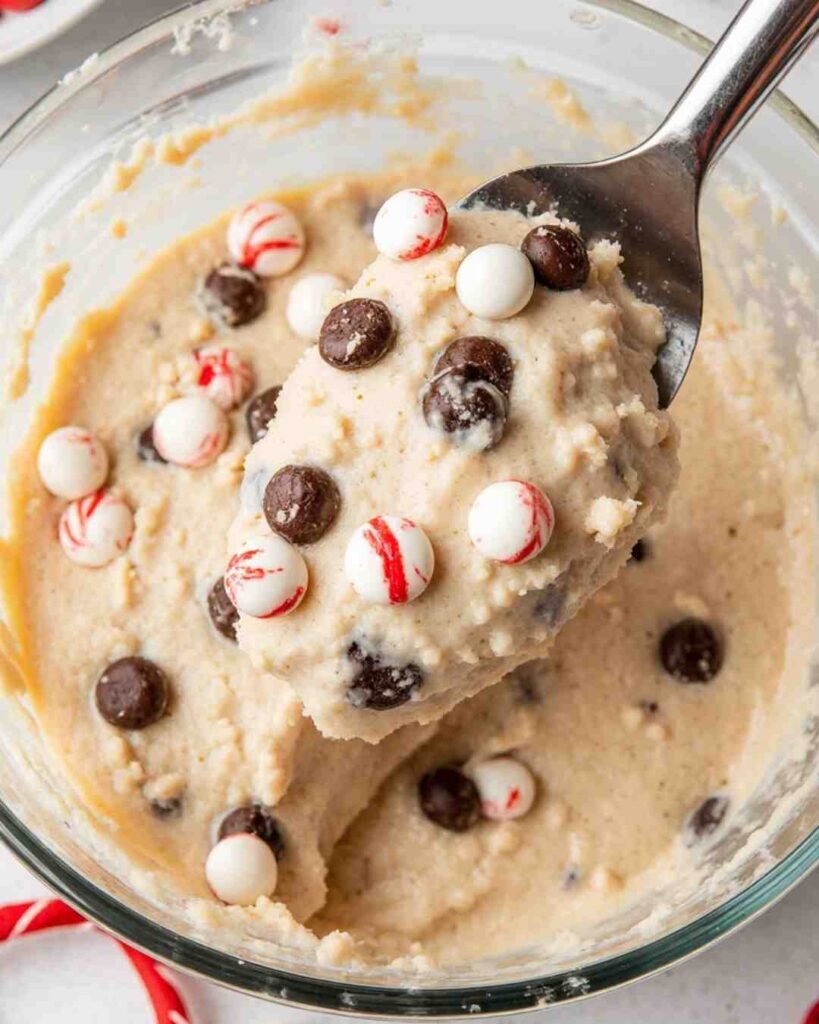
Fold in your white chocolate chips and crushed peppermint. Distribute them evenly so every bite tastes like holiday magic.
If you’re feeling adventurous, toss in a few mini marshmallows or chocolate chunks — no rules here.
6. Scoop and Space
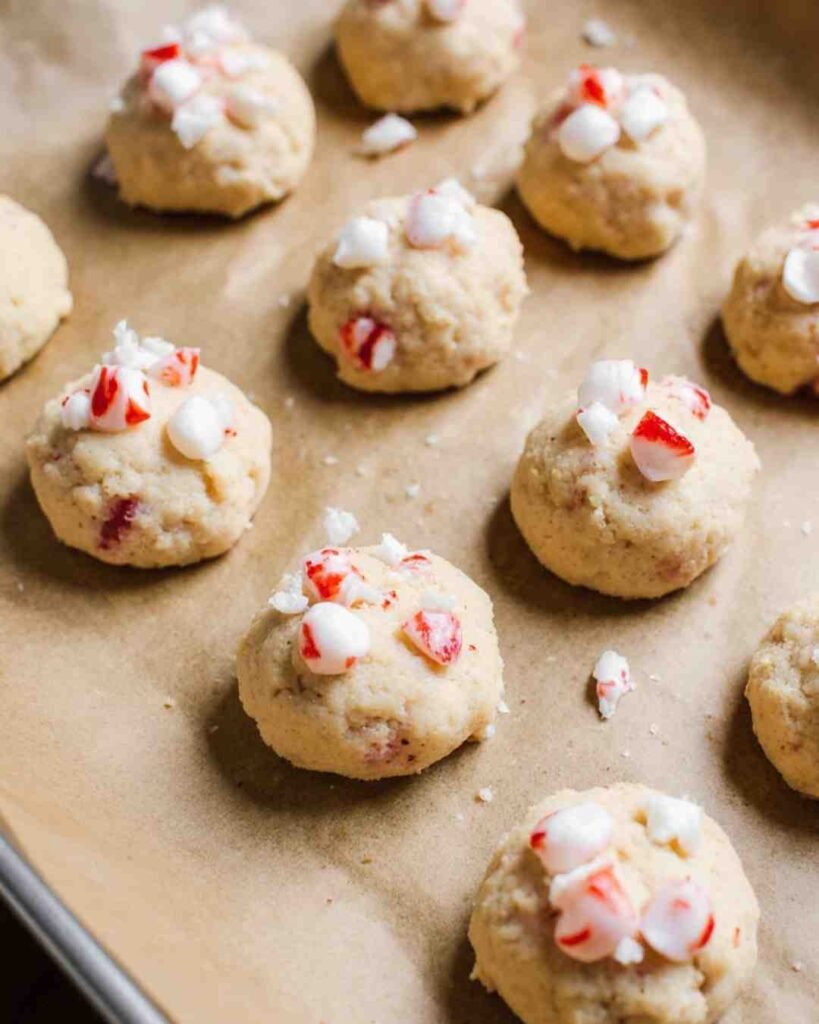
Use a medium cookie scoop (or a heaping tablespoon) to drop dough balls onto your baking sheets. Leave about 2 inches of space between each one — they’ll spread a little while baking.
Pro Tip: Want picture-perfect cookies? Roll the dough balls gently between your palms before placing them on the tray.
7. Bake to Perfection
Bake for 9–11 minutes until the edges are lightly golden and the centers look just set. They’ll continue to bake slightly as they cool.
Don’t wait for them to look “fully done” — the secret to chewy cookies is pulling them out early!
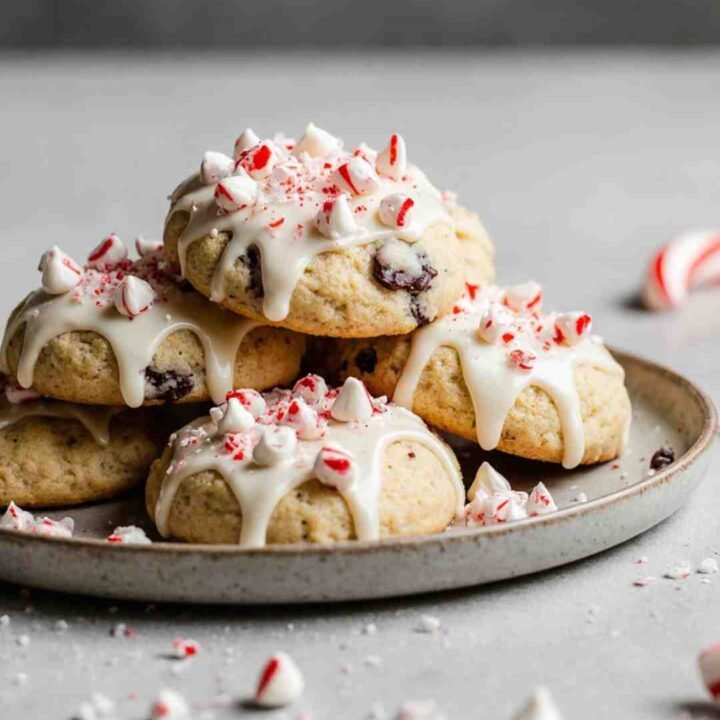
8. Cool & Decorate

Let your cookies cool on the tray for 5 minutes, then transfer to a wire rack.
Once cooled, drizzle melted white chocolate across the tops and sprinkle extra crushed peppermint.
Now stand back and admire your masterpiece (and maybe snap a Pinterest-worthy pic).
For another fun treat to gift or share, check out my Santa Claus Macarons — they look fancy but are surprisingly easy to make!
Common Mistakes to Avoid
We’ve all been there — flat cookies, burnt bottoms, mystery textures. Let’s dodge the disasters:
- Using cold butter – Won’t cream properly. Your cookies will turn out dense and sad.
- Overmixing the dough – It toughens the texture. Mix until “just combined” and stop.
- Baking too long – The edges should be barely golden. They’ll firm up as they cool.
- Skipping parchment paper – Sticky bottoms are not a vibe.
- Too much peppermint – A little goes a long way. You want “minty,” not “mouthwash.”
- Storing warm cookies – They’ll get soggy. Let them cool fully before storing.
Alternatives & Substitutions
Not everyone keeps peppermint candies in their pantry (shocking, I know). But don’t worry — this recipe is flexible!
- No Peppermint Candies? Add a few drops of peppermint extract instead. Use sparingly — it’s strong stuff.
- White Chocolate Swap: Use milk or dark chocolate chips for a richer flavor.
- Gluten-Free Option: Replace all-purpose flour with a 1:1 gluten-free baking blend.
- Dairy-Free Version: Use vegan butter and dairy-free white chocolate chips.
- Extra Flavor Boost: Add a dash of espresso powder or orange zest — sounds weird, tastes amazing.
- Festive Twist: Add red and green sprinkles or drizzle pink chocolate for Valentine’s Day.
Personal Favorite: I once added crushed Oreos and it turned into “Peppermint Cookies & Cream.” Total hit.
Pro Tips for Perfect Cookies
- Chill the dough (optional) for 15 minutes if your kitchen is warm — it helps control spreading.
- Use a cookie scoop for even portions and consistent baking.
- Press extra chocolate chips on top before baking for bakery-style looks.
- Don’t skip the salt — it enhances flavor balance.
- Cool on the tray first — hot cookies are fragile, so give them 5 minutes before moving.
FAQ (Frequently Asked Questions)
Q1: Can I make the dough ahead of time?
Totally! Store it in the fridge for up to 2 days. Let it sit at room temp for 20 minutes before baking.
Q2: Can I freeze the dough?
Yes! Freeze dough balls on a tray, then store them in a bag. Bake straight from frozen — just add 1–2 minutes to the baking time.
Q3: Why did my cookies spread too much?
Probably because your butter was too warm or you overmixed. Try chilling the dough next time.
Q4: Can I skip the peppermint?
Sure, but then they’re just “White Chocolate Cookies.” Still delicious, just less festive.
Q5: How do I make them look extra pretty?
Right after baking, use a round cutter or glass to gently swirl each cookie into a perfect circle. It’s the pro baker’s secret!
Q6: Can I double the batch?
Absolutely! You’ll thank yourself later when you find a bag of frozen dough balls waiting in the freezer.
Q7: How should I store them?
In an airtight container at room temperature for up to 5 days. Or freeze baked cookies for up to 2 months.
Notes & Storage
- Storage: Airtight container, 4–5 days room temp, 2 months in freezer.
- Reheat: 10 seconds in the microwave = warm, gooey perfection.
- Gift Idea: Stack three cookies, tie with a red ribbon, and you’ve got a perfect homemade holiday gift.
If you like gifting edible treats, you’ll also love my Christmas Rice Krispie Treats — they pack beautifully and stay chewy for days.
Final Thoughts
There you have it — your new go-to White Chocolate Peppermint Cookies recipe. It’s simple, quick, and ridiculously delicious. Whether you’re baking for a party, a cookie exchange, or just a cozy night in, these cookies deliver the perfect balance of sweet, creamy, and minty.
They’re festive enough to impress guests but easy enough to whip up on a whim. Honestly, once you make these, you might find yourself “taste-testing” a few… purely for quality control, of course.
So what are you waiting for? Turn on the oven, crush those candy canes, and make your kitchen smell like the holidays. Trust me — one bite, and you’ll wish Christmas lasted all year.
For more cozy dessert inspo, check out:
White Chocolate Peppermint Cookies
These White Chocolate Peppermint Cookies are soft, chewy, and bursting with festive flavor! Made with creamy white chocolate chips and crushed candy canes, they’re the perfect easy holiday treat for cookie exchanges, Christmas parties, or cozy nights in.
Ingredients
- 1 cup (2 sticks) unsalted butter, softened
- ¾ cup granulated sugar
- ¾ cup light brown sugar, packed
- 2 large eggs, room temperature
- 2 teaspoons vanilla extract
- 2¾ cups all-purpose flour (spooned and leveled)
- 1 teaspoon baking soda
- ½ teaspoon salt
- 1 cup white chocolate chips
- ½ cup crushed peppermint candies or candy canes
- Optional: ¼ cup melted white chocolate for drizzling
Instructions
- Preheat oven: Set to 350°F (175°C). Line two baking sheets with parchment paper.
- Cream butter & sugars: In a large bowl, beat softened butter with granulated and brown sugar until light and fluffy (about 2–3 minutes).
- Add eggs & vanilla: Beat in eggs one at a time, then mix in vanilla extract until smooth.
- Combine dry ingredients: In a separate bowl, whisk together flour, baking soda, and salt. Gradually mix into wet ingredients until just combined.
- Fold in festive bits: Stir in white chocolate chips and crushed peppermint until evenly distributed.
- Scoop dough: Use a cookie scoop or tablespoon to place dough balls 2 inches apart on baking sheets.
- Bake: Bake 9–11 minutes, until edges are golden and centers are slightly soft.
- Cool & decorate: Let cookies cool 5 minutes on the pan, then transfer to a wire rack. Drizzle with melted white chocolate and sprinkle extra peppermint if desired.
Notes
- No peppermint candies? Add ¼ teaspoon peppermint extract instead.
- For thicker cookies: Chill dough for 15–20 minutes before baking.
- Storage: Store in an airtight container for 4–5 days or freeze up to 2 months.
- Gifting tip: Stack 3 cookies, tie with ribbon, and gift in clear bags.
- Avoid overbaking: Cookies should look slightly underdone when removed — they’ll firm up as they cool.
Nutrition Information:
Yield: 12–24 servingsAmount Per Serving: Calories: 210Total Fat: 10gSaturated Fat: 6gCarbohydrates: 28gFiber: 1gSugar: 18gProtein: 2g