
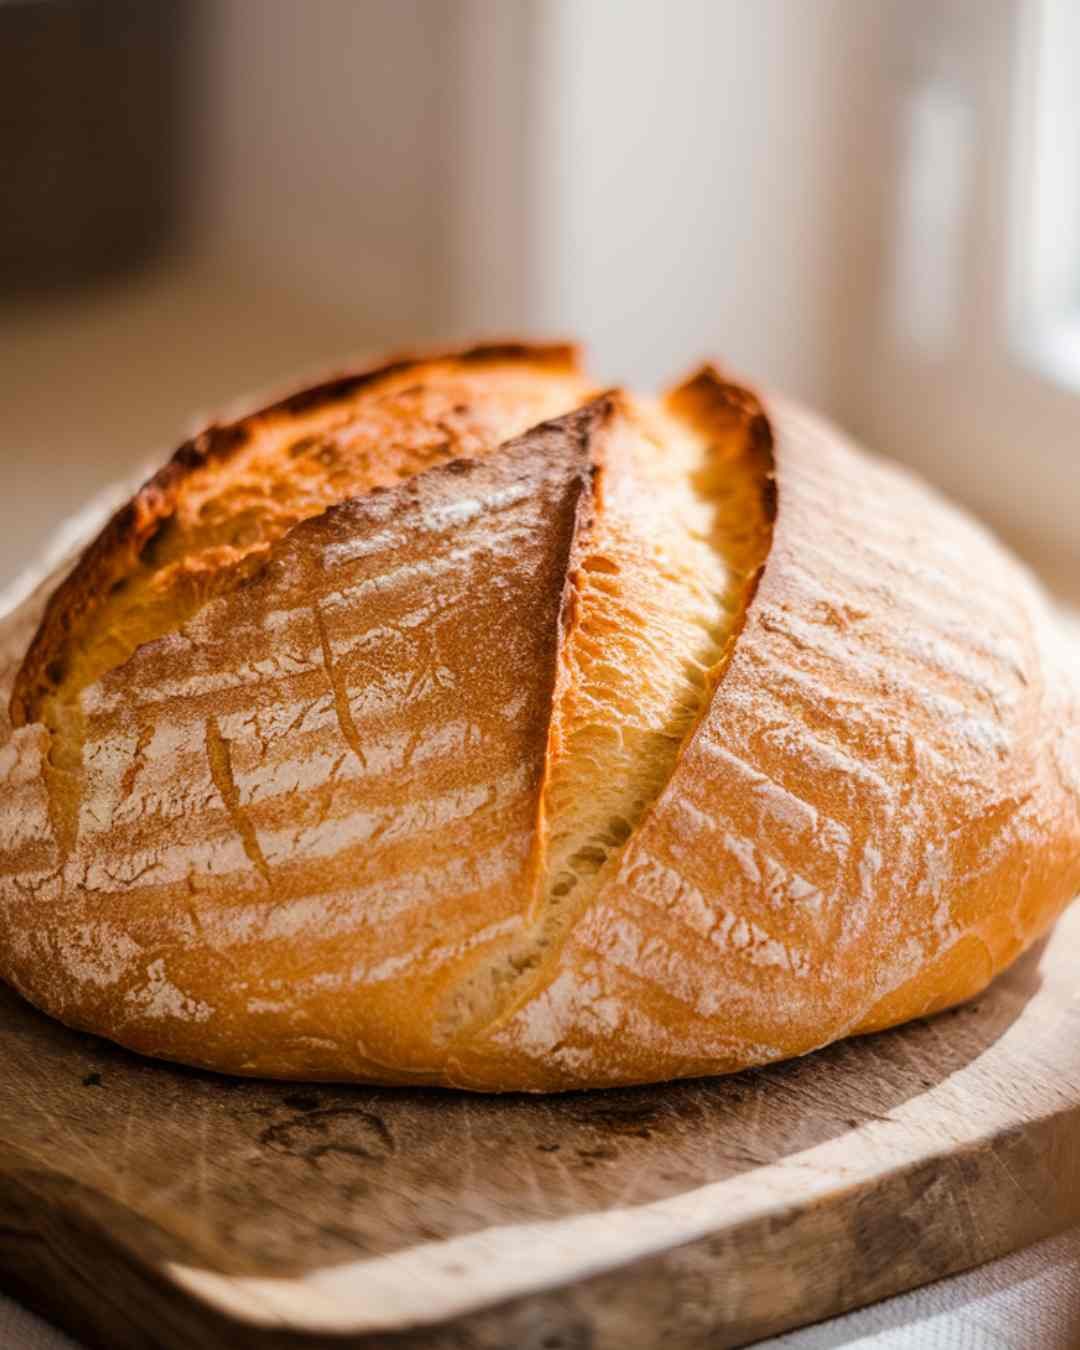
Easy Artisan Bread Recipe – No Knead, Bakery-Style Loaf at Home
Artisan Bread Recipe—sounds fancy, right? But here’s the truth: you don’t need a bakery, a bread wizard, or a secret French village oven to pull this off. This loaf is crusty, soft, ridiculously easy, and so good it might make you ghost store-bought bread forever. Plus, your kitchen will smell so good you’ll have neighbors suddenly “dropping by” just to “say hi.
And yes, your kitchen will smell like heaven. You’re welcome.
Why This Artisan Bread Recipe is Awesome
Here’s why this bread recipe will become your new go-to:
- No fancy equipment – You don’t need a bread machine, a special mixer, or a bread fairy. Just your hands, a bowl, and an oven.
- Beginner-friendly – Never made bread before? Perfect. This recipe is forgiving enough to survive the occasional “oops” moment.
- Crispy crust, soft middle – The golden combo that turns a loaf from “meh” to chef’s kiss.
- Customizable – Want rosemary and garlic? Done. Sun-dried tomatoes and basil? Sure. Chocolate chips? Okay… you’re wild, but go for it.
- Looks impressive – People will think you’ve been secretly training at a Parisian bakery.
Artisan Bread Recipe: Ingredients You’ll Need
Let’s keep it simple. You probably already have most of these.
- 3 cups all-purpose flour – The basic stuff. If your bag has been open since last year… maybe spring for a fresh one.
- 2 teaspoons salt – Because flavorless bread is just sadness in loaf form.
- ½ teaspoon instant yeast – This is the tiny magic dust that makes your bread puff up and look legit.
- 1½ cups warm water – Think “baby bath” warm, not “lobster boil” warm.
- Optional add-ins – Herbs, cheese, seeds, or whatever makes your carb-loving heart happy.
Artisan Bread Recipe – Step-by-Step Instructions
- Mix the dry stuff. In a big bowl, combine the flour, salt, and yeast. (Not sure what yeast to use? Here’s a great yeast guide from Red Star Yeast .)
- Add the water. Pour in the warm water and stir until it’s all shaggy and sticky. No kneading. Seriously. Put the muscles away.
- Let it nap. Cover the bowl with plastic wrap or a clean towel and let it sit at room temp for 12–18 hours. Overnight works great. The dough will double in size and look like a bubbly alien blob.
- Shape it. Sprinkle a little flour on a surface, plop the dough down, and gently fold it into a ball. No overthinking.
- Second rise. Place the dough on parchment paper, cover, and let it rest for about 30 minutes. Meanwhile, preheat your oven to 450°F (230°C) with your Dutch oven inside.
- Bake time! Carefully (like, oven-mitt careful) place the dough—parchment paper and all—into the hot Dutch oven. Cover with lid.
- Bake covered for 30 minutes, then uncover and bake another 15–20 minutes until golden brown.
- Cool it. Let the bread sit for at least 30 minutes before slicing. Yes, it’s torture. Yes, it’s worth it.
Common Mistakes to Avoid When Making Artisan Bread
- Not preheating the Dutch oven – That hot pot is what gives you the amazing crust. Skipping this step is like skipping leg day.
- Too much flour when shaping – You want just enough so it’s not sticking to your hands, not enough to smother it like a snowstorm.
- Cutting too soon – I know it’s tempting, but if you slice while it’s piping hot, you’ll squish the beautiful crumb. Patience, grasshopper.
- Forgetting the salt – Please don’t. Unless you like bread that tastes like wet cardboard.
- Using boiling water – You’re making bread, not soup. Yeast is alive… until you murder it with heat.
Alternatives & Substitutions
- No Dutch oven? Use a heavy oven-safe pot with a lid, or place a metal baking pan in the bottom of your oven and add water for steam.
- Whole wheat flour – Swap up to half the flour for whole wheat. Any more and you risk a “healthy” loaf that doubles as a doorstop.
- Herbs & spices – Rosemary, thyme, garlic powder, onion flakes—get creative. Just don’t go overboard. This is bread, not potpourri.
- Seeds – Sesame, poppy, sunflower—sprinkle on top before baking for extra crunch.
- Gluten-free? Use a gluten-free all-purpose flour blend, but heads up: texture will be different. Still tasty though.
Artisan Bread Recipe FAQ (Frequently Asked Questions)
Q: Can I make this without yeast?
A: You can, but then you’re basically making a brick. Not recommended unless that’s your vibe.
Q: Can I speed up the rising time?
A: Sure, but slow rise = better flavor. If you’re impatient, use slightly warmer water and let it rise for 4–6 hours, but it won’t taste quite the same.
Q: Do I need bread flour?
A: Nope. All-purpose works fine. Bread flour will give you a slightly chewier loaf, but don’t stress if you don’t have it.
Q: Can I freeze this bread?
A: Absolutely. Slice it first, wrap it well, and pop it in the freezer. That way you can toast a slice whenever carb cravings strike.
Q: My bread didn’t rise. What happened?
A: Probably dead yeast, water that was too hot, or a cold kitchen. Or maybe your yeast was from 2018. No judgment.
Q: Can I make this vegan?
A: It already is! Unless you sprinkle bacon bits on top… in which case, carry on.
Q: How do I make it extra fancy?
A: Add olives, roasted garlic, or cheese chunks into the dough before baking. Boom—instant “artisan upgrade.”
Final Thoughts
There you go—artisan bread without the drama. You didn’t have to knead for hours, chant to the bread gods, or mortgage your house for fancy ingredients. And yet, you’ll pull a golden, crusty, bakery-worthy loaf out of your oven like the kitchen rockstar you are.
So, next time someone asks if you really made it yourself, just smile and nod. Let them imagine you slaved over it for days. Your secret’s safe with me.
Now go bake it, slice it, slather it with butter, and eat it straight from the cutting board. Because you earned it.
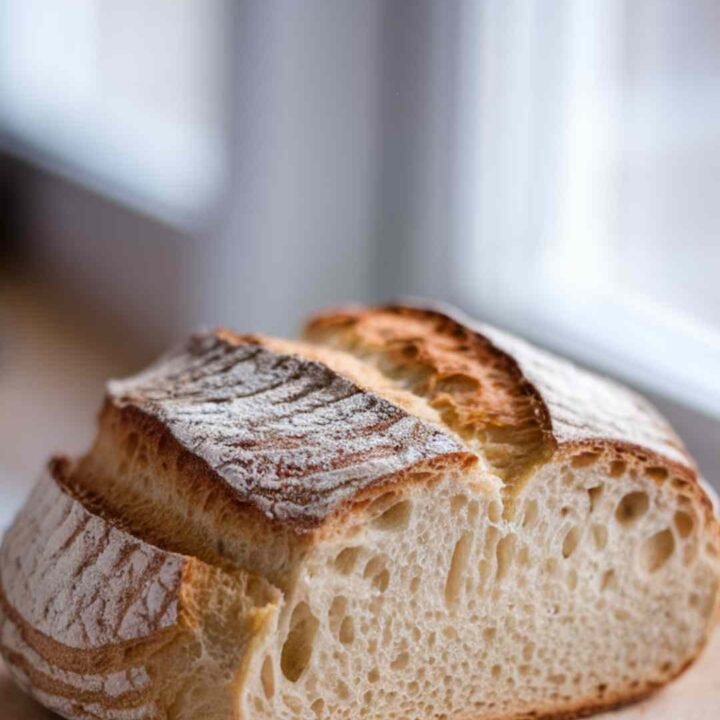
Artisan Bread Recipe
This easy artisan bread recipe delivers a crusty, golden loaf with a soft, airy inside—no kneading, no fancy tools, and perfect for beginners. Bake a bakery-quality loaf right in your own kitchen
Ingredients
- 3 cups all-purpose flour
- 2 teaspoons salt
- ½ teaspoon instant yeast
- 1½ cups warm water (baby-bath warm, not boiling)
- Optional add-ins: herbs, seeds, cheese, etc.
Instructions
- In a large bowl, mix flour, salt, and yeast.
- Add warm water and stir until a shaggy, sticky dough forms.
- Cover with plastic wrap or a towel and let rest at room temperature for 12–18 hours.
- Turn the dough onto a floured surface, shape into a ball.
- Let rest on parchment paper for 30 minutes.
- Preheat oven to 450°F (230°C) with a Dutch oven inside.
- Place dough (with parchment) into hot Dutch oven, cover, and bake for 30 minutes.
- Remove lid, bake 15–20 more minutes until golden.
- Cool at least 30 minutes before slicing.
Notes
Nutrition Information:
Yield: 1 loafAmount Per Serving: Calories: 130Total Fat: 0,5gCarbohydrates: 27gFiber: 1gProtein: 4g